Building a Novel Generator with the Agent Kit
This guide demonstrates how to build an agent that generates novels. Given an idea, it'll create an outline, write the whole manuscript, and return a finished book!
Tip
This introductory guide is suitable for beginners, though it covers some intermediate concepts. For more detailed steps, you can check out the Librarian and First Tool guides.
The finished board is just below and you're welcome to play with it first. When you run it for the first time, it will ask you for the Gemini API Key. If you don't have one yet, you can get a key at https://aistudio.google.com/app/apikey.
Note
You might have a reasonable question: "Why does Breadboard ask me for an API key?" One of the key tenets of this project is to allow makers quickly connect to various interesting models and other APIs. To do that, Breadboard has a pretty robust system for managing secrets: valuable pieces of data help you connect to them. To balance convenience with flexibility, Breadboard Visual Editor stores these keys in your local browser store.
First, we'll create a board. Let's name it something like my-novel-generator.bgl.json and give it a proper title and description, like "My novel generator" and "A simple agent that turns ideas into finished novels.".
This board uses the Agent Kit, a collection of components designed to help build asynchronous, semi-autonomous agents. You can read more about it in the Agent Kit Reference. Additionally, we'll use the built-in "input" and "output" components. These are described in the Built-in Kit Reference.
To build this board, we will use the Breadboard Visual Editor, which is a tool for rapid prototyping AI systems. You can learn more about about all the different features and capabilities of Breadboard Visual Editor in the Visual Editor Reference.
Tip
At any point, you can click "See in Visual Editor" at the bottom left of the board diagram to open the "Breadboard Visual Editor" and load the board. You're welcome to build the agent from scratch, or along by and jump into the editor to play with points of interest!
Step 1: Create the outliner
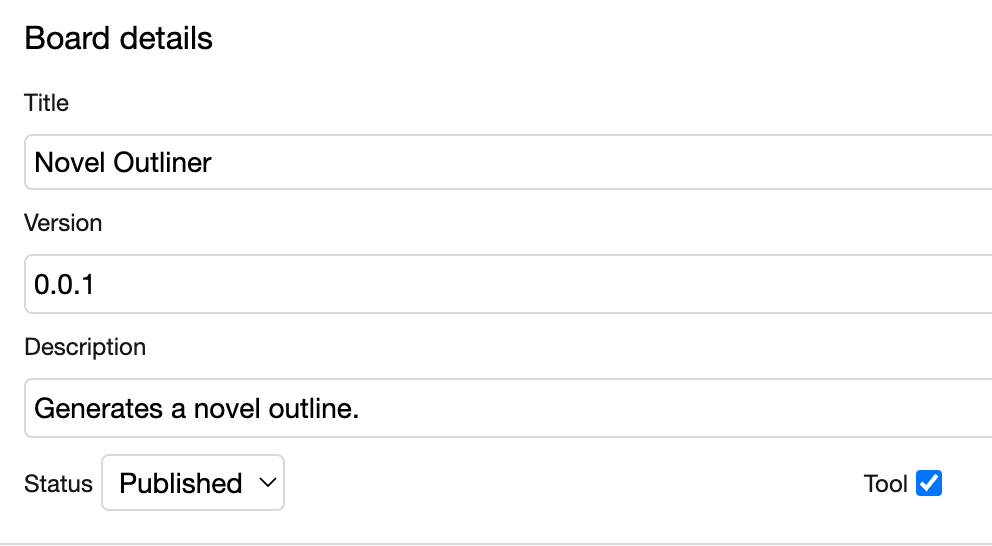
First, we'll create a board. You can use a name like my-novel-outliner.bgl.json and give it a proper title and description, such as "My novel outliner" and "A novel outliner agent that turns ideas into novel outlines".
An input like the following should work:
Story: space captain rescues her brother from an alien planet.
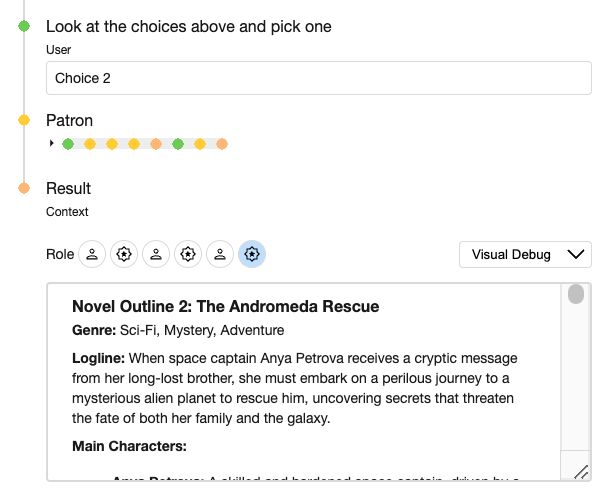
Genre: sci-fi, mystery, adventureOutliner will present the user with a few examples and return their selection:
Note
This board represents the first step in generating a novel. Once it's working, we'll be able to call it from a more abstract "Generator" board and be relaxed about the details.
To make this board usable from other boards, we'll check the Tool checkbox in the Board details menu, and save it.
Now, let's implement it! Here's the complete board:
Yes, there's a lot going on! Let's summarize it in three steps: (1) the author writes a draft, (2) the author revises the text based on a friends' feedback, and (3) the patron selects their preferred outline. Next we'll explain how each of them works.
Tip
A fun way to understand the board is to run it!
Step 1.1: Add an author
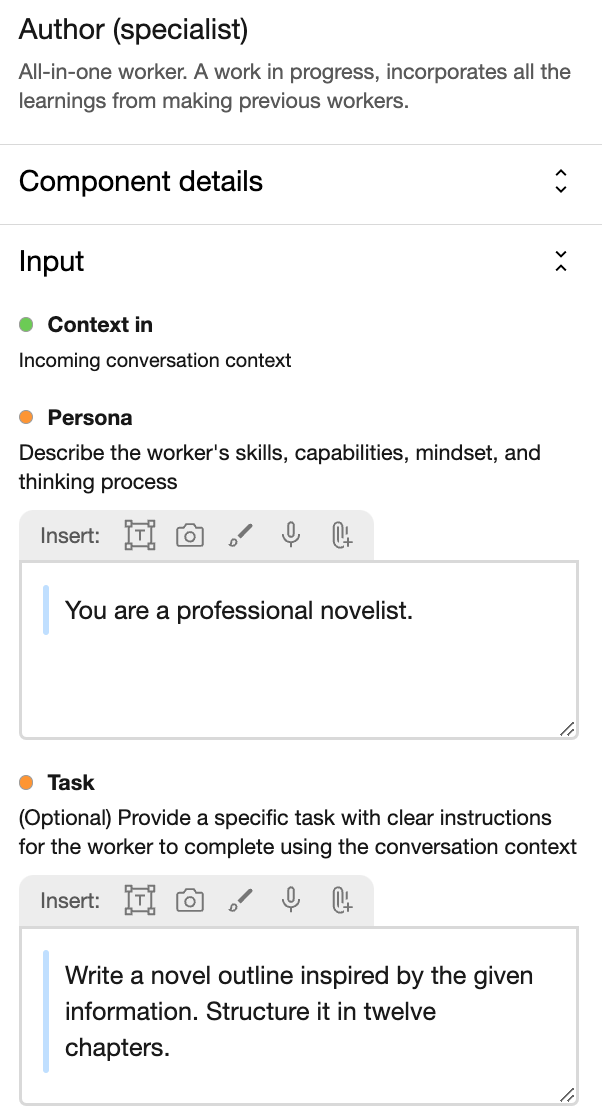
We need an author to draft the outline. We can add a Specialist from the Component Selector:  Then, we click the component to specify attributes like Title, Persona, and Task.
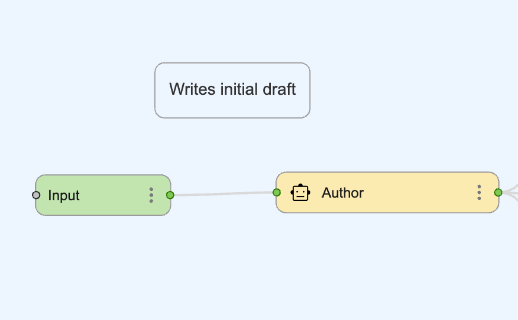
Now we set up an edge connecting the input to the Author, and leave a comment.
Note
For a minimal prototype, you can connect the Author directly to the output!
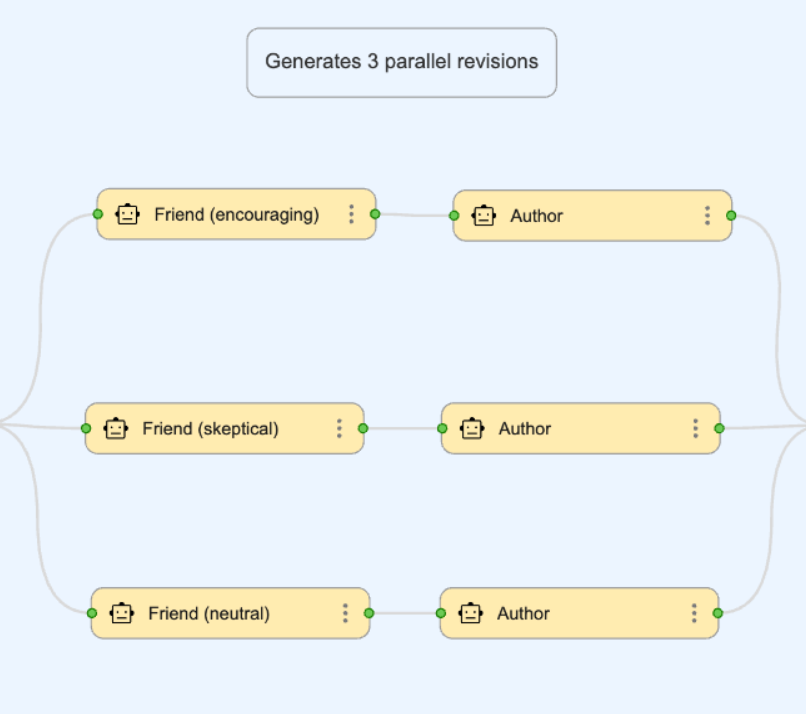
Step 1.2: Add friends
Your first draft might be good, but it's often helpful to ask a friend to review it and give you feedback. To achieve this, we'll add another Specialist to represent a friend.
For the Persona, let's write the following:
You are a trusted friend and writing fellow of the author. Your tone is encouraging.And the Task can be:
Give feedback on the novel outline. Include three suggestions to improve readability and engagement. Prefix the result with "Novel Outline 1".If you're wondering, how will the author receive the feedback? Great question! We want them to revise the draft, so let's copy and paste our Author, and update the Task with the following:
Revise the outline following the suggestions.Ah, it's nice to have a friend. You know what's even better? Having three! Let's create them. You can even try different Personas and Tasks to get diverse feedack.
Tip
You can select part of a board to copy and paste by clicking your mouse and dragging a bounding box.
Step 1.3: Present choices
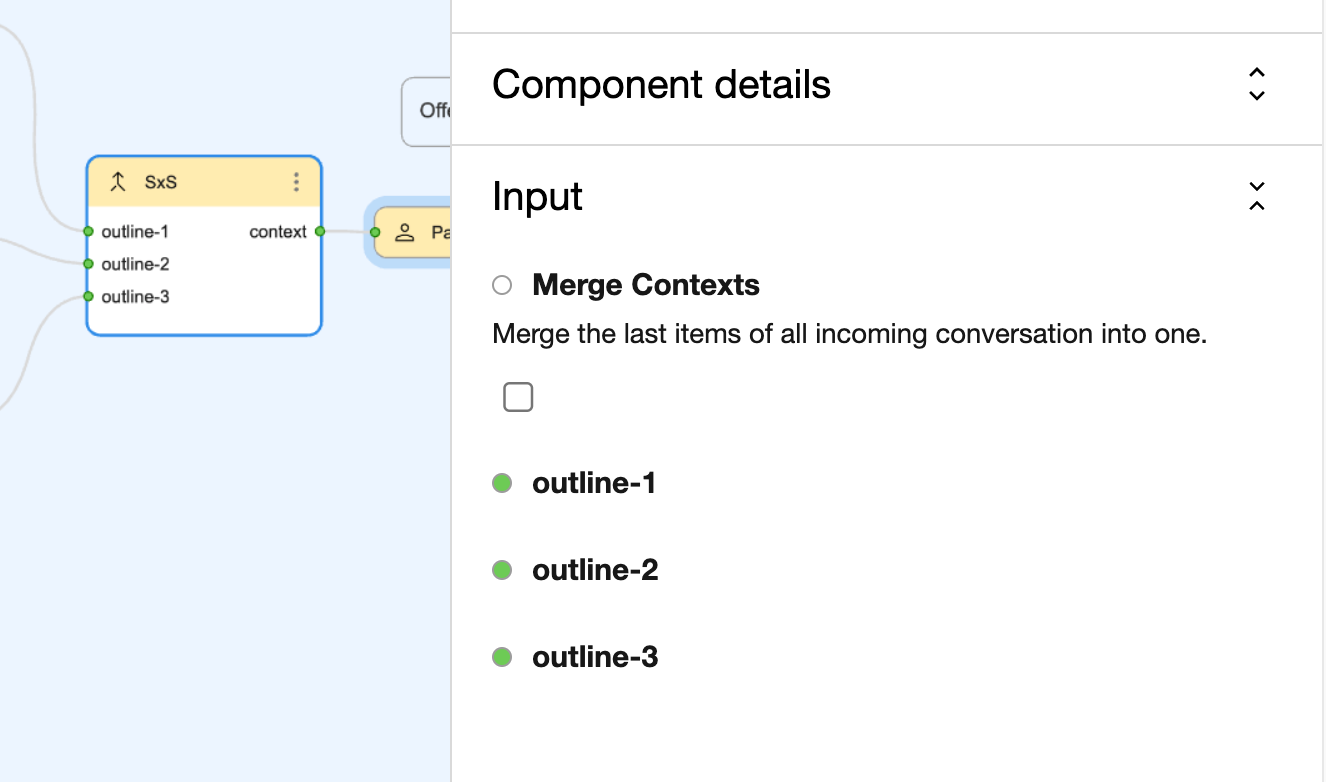
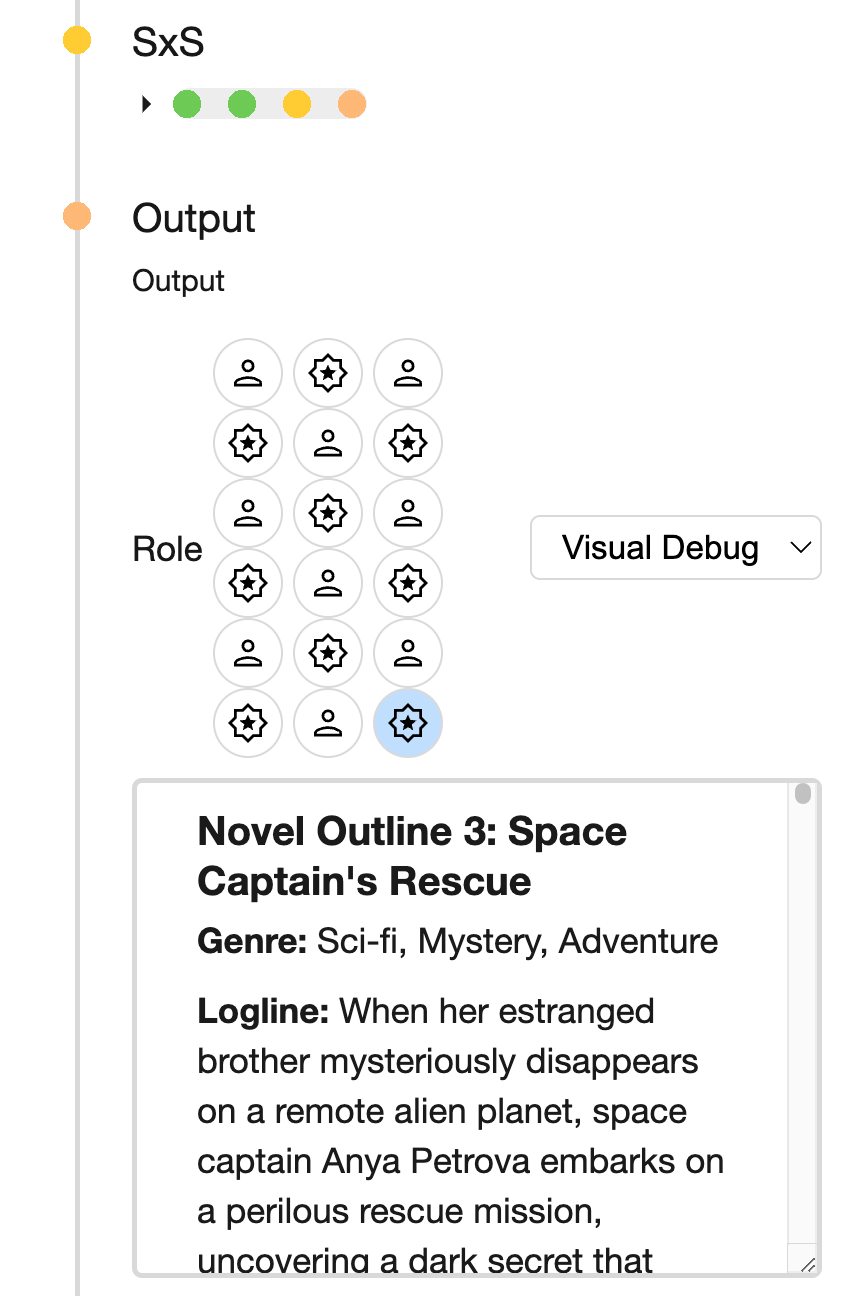
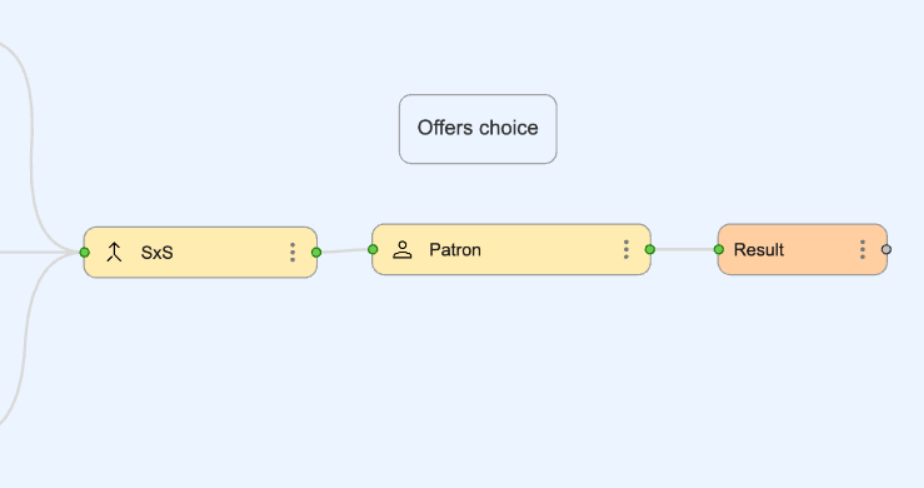
We have a collection of drafts, but ultimately need only one. Let's use a Joiner component to merge the three incoming contexts into one.
An intermediate output will display the last message, along with buttons to inspect the whole sequence of content produced by our components.
Note
Do we really need a Joiner? If we run the board without it, what could happen? (Hint: excessive outputs). Feel free to experiment.
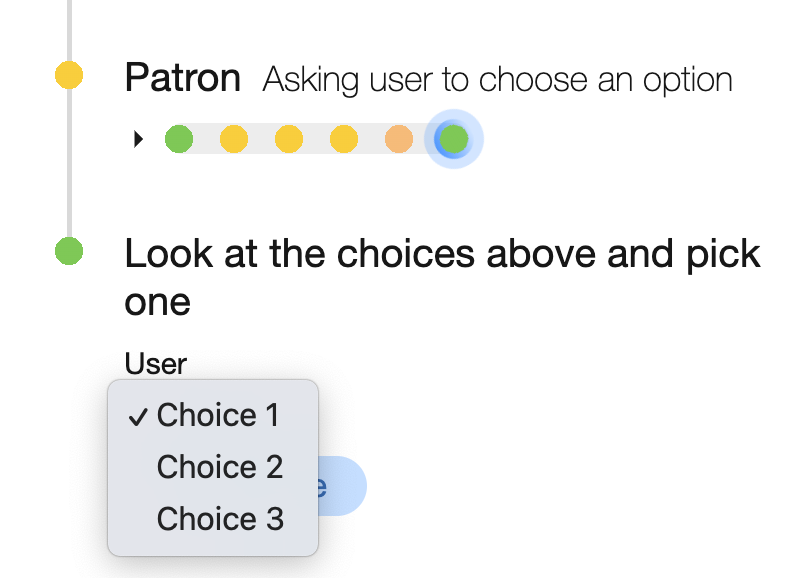
Let's add a Human component (that's us!) so we can select our preferred draft. Yes, we're playing the role of a patron who comissions novels (to AI!).
At last, we wire up the components, ending with the Output, and add a comment to document this section of the board:
The outliner board is complete! Excellent progress. We'll use it next to develop the novel.
Step 2: Create a developer
Let's create another board. We can call it my-novel-developer.bgl.json. It will look like this when we're done:
Note
Don't forget to save this board as a Tool, so we can call it from another board.
This board develops a novel in two steps: (1) Writing and editing each chapter, then (2) formatting the whole manuscript and returning a finished copy. Let's build it!
Step 2.1: Developing chapters
Since writing and editing can follow a common structure for every chapter, the Looper component is ideal. Let's add one.
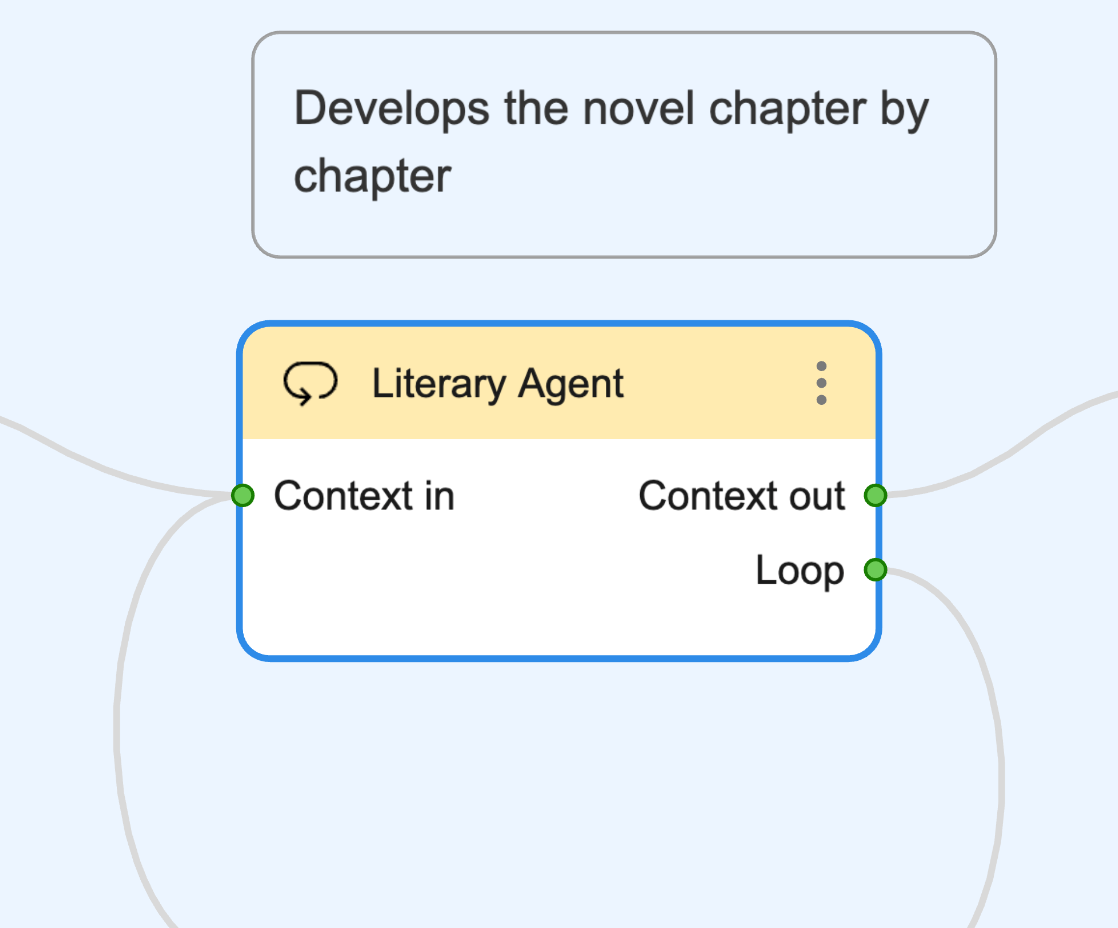
We'll give it a high-level Task like the following:
Chapter-by-chapter, generate a draft for the novel. Use single-paragraph micro chapters for quick iterations.We named it Literary Agent because it doesn't directly execute the Task, but instead leverages other Specialists to get it done. How cool is that? Let's add those missing Specialists: a writer, and an editor.
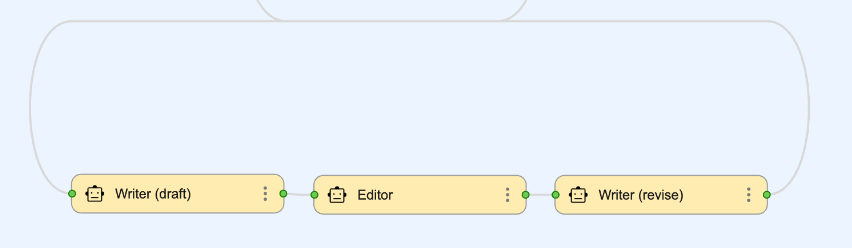
For the writer, we'll copy and paste our old component, but this time we'll leave the Task empty. Seriously! The Looper will take care of it.
Tip
To leverage Loopers, trust their ability to create Tasks for their inner Specialists. You can always add more details to the Specialist Tasks if needed.
The editor is a new Specialist, so let's give it the following Persona:
You are a professional line editor of novels.And Task can be something concreate:
Give feedback on the chapter. Include 3 detailed suggestions to improve clarity, flow, and impact.For the last writer, let's specify a simple Task:
Revise the chapter following the suggestions.Step 2.2: Formatting manuscript.
After all chapters are written, the book can be formatted from cover to cover and returned. Let's give this task to a Specialist.
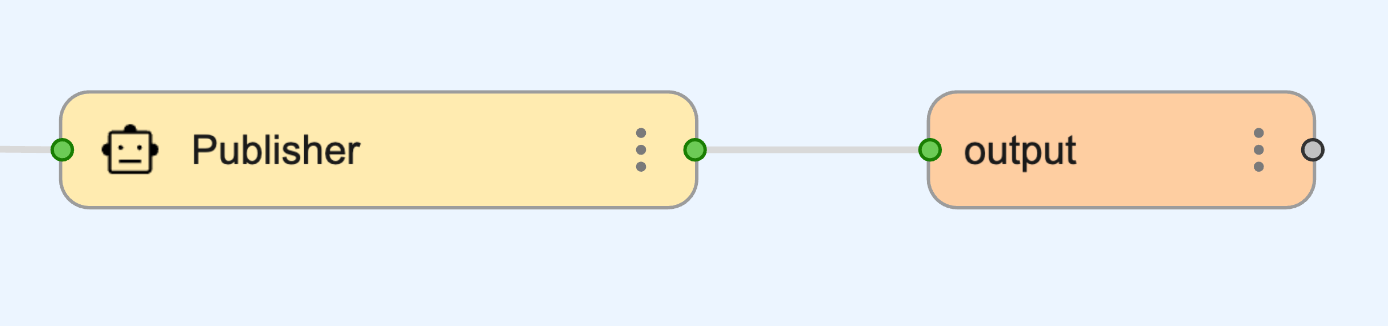
We'll type in a simple Persona:
You are a professional book publisher.For the Task, we'll add more details:
Format the manuscript into a novel, ready for digital consumption. Omit any scribbles and annotations not intended for the reading public.Way to go! Let's connect it to the Output component. Our Developer board is done.
Step 3: Create the generator
It's time to connect our boards!
Let's create a board. This will be the main one. We can call it something like my-novel-generator.bgl.json and give it a short description such as "A simple agent that turns ideas into finished novels.".
Then we'll add two Specialist components and connect them. The first will produce an outline, and the second will develop the mansucript. These Specialists will call the boards we created earlier.
Let's start with the Outliner. We'll use this Persona:
You are a professional novel outliner.And we'll set the following Task:
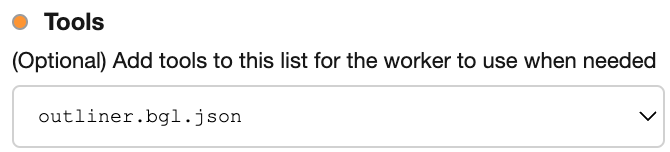
Call the novel outliner tool with the prompt.In the Tools dropdown, let's select our outliner board:
The Developer works the same way. Wanna give it a shot? The last step is connecting the components in a series from Input to Output. And we're done!
Tip
To help the Specialist call the most relevant Tools, it helps to keep consistent names in the Task and Persona.
Congrats! We've just built a novel generator. Here's what we've learned:
-
How to place components (like Specialist, Looper, Comments, etc.) on the board.
-
How to give Specialist its purpose.
-
How to create interesting repeating patterns with Looper.
-
How to use boards as Tools in other boards.
You're ready to build your own agents with Breadboard. Whether it's an addition to your novel generator (idea: a book cover illustrator) or a personal AI projects, Breadboard is your canvas. Let your creativity shine 💡.