Other Features
Here are a few other features available in the Visual Editor that don't necessarily fit in the other sections, but which are still worth knowing about!
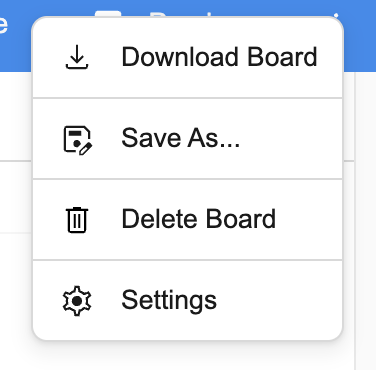
The Overflow Menu
The Overflow menu, which offers a few useful features, can be found in the top right corner of the Visual Editor.

Here we can download the current board, save it to a different Provider, delete the board (if the Provider allows), and edit our settings.
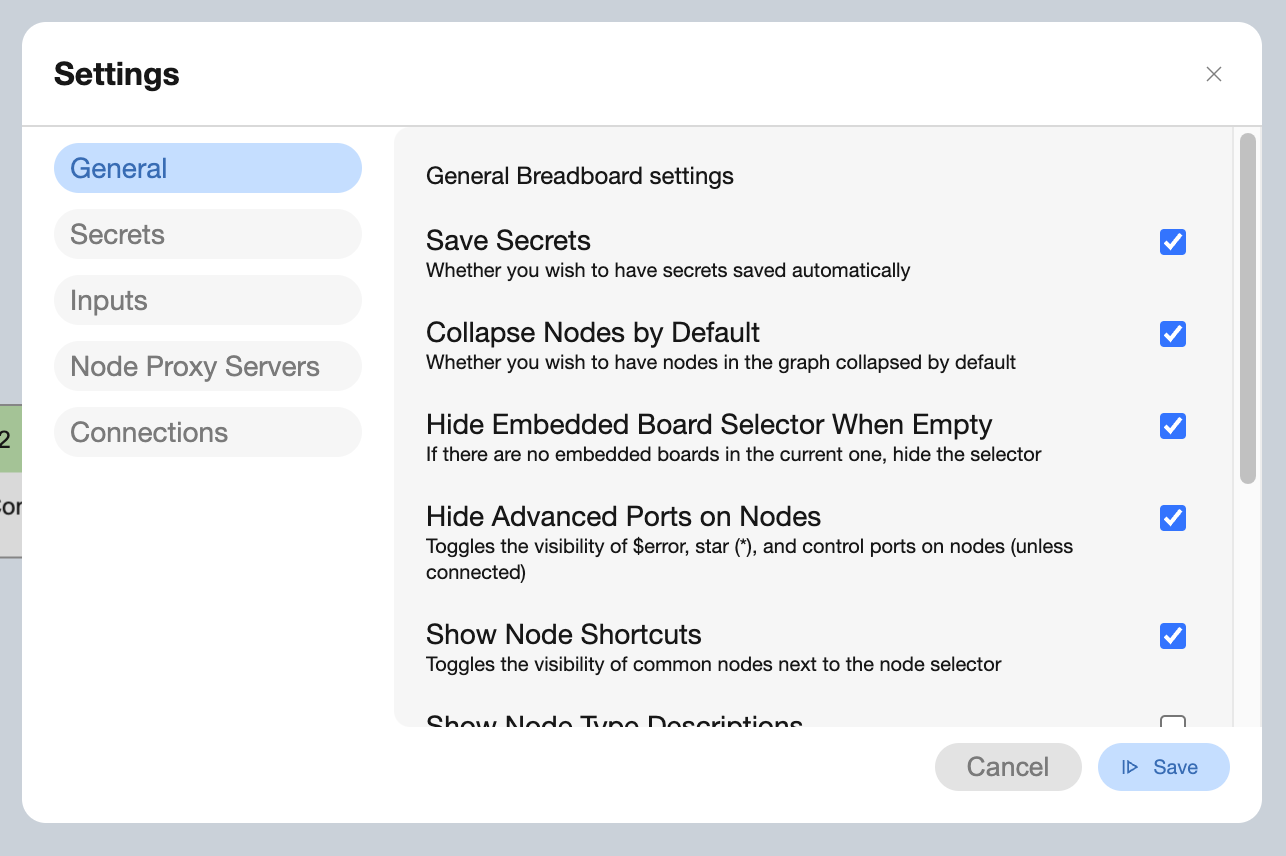
Settings
The Settings view, available from the Overflow menu, provides us some options to customize the Visual Editor. There are some general settings, as well as a place to see any stored secrets or preferred input values.
Tip
You may notice that Agent Kit components often ask which Gemini model we want to use. If we don't want to choose the model each time, we can and create an item called model in the Inputs section, and set its value to something like gemini-1.5-flash-latest. When Breadboard reaches an input port with the name model it will substitute the value in so we don't need to enter it ourselves.
Copy Pasting Components and Wires
Under the hood Breadboard's boards are serialized JSON. This means we can select components and wires in the Visual Editor and copy them with Cmd/Ctrl + C, and then paste them into a text editor with Cmd/Ctrl + V. The same is true in reverse; we can paste from a text editor into the Visual Editor. We can also copy-paste items within the Visual Editor itself.
Resetting the Board Layout and Zoom
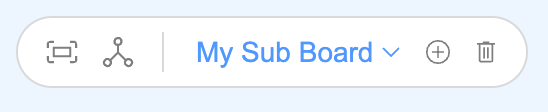
Sometimes we want to fit the board to the available space, or even reset its layout. This can be done with the controls in the top left corner of the Visual Editor.
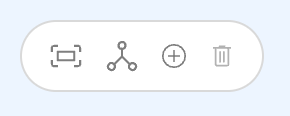
The left-most icon represents the fit to screen feature, where the one to its right is used for resetting the board layout. The remaining two items are used for creating and removing embedded boards.
Creating Embedded Boards
Within Breadboard it is possible to embed boards within other boards. Often this is a useful feature to have when we want some sort of reusable functionality (which is best represented as its own board), but where we also want to effectively bundle that board with the board that uses it. For these cases we create embedded boards.
To create an embedded board click the + icon in the top left corner and name the embedded board. We will see that the UI updates to show that we are now editing the embedded board, and the embedded board will start off as a blank board with an input and output.
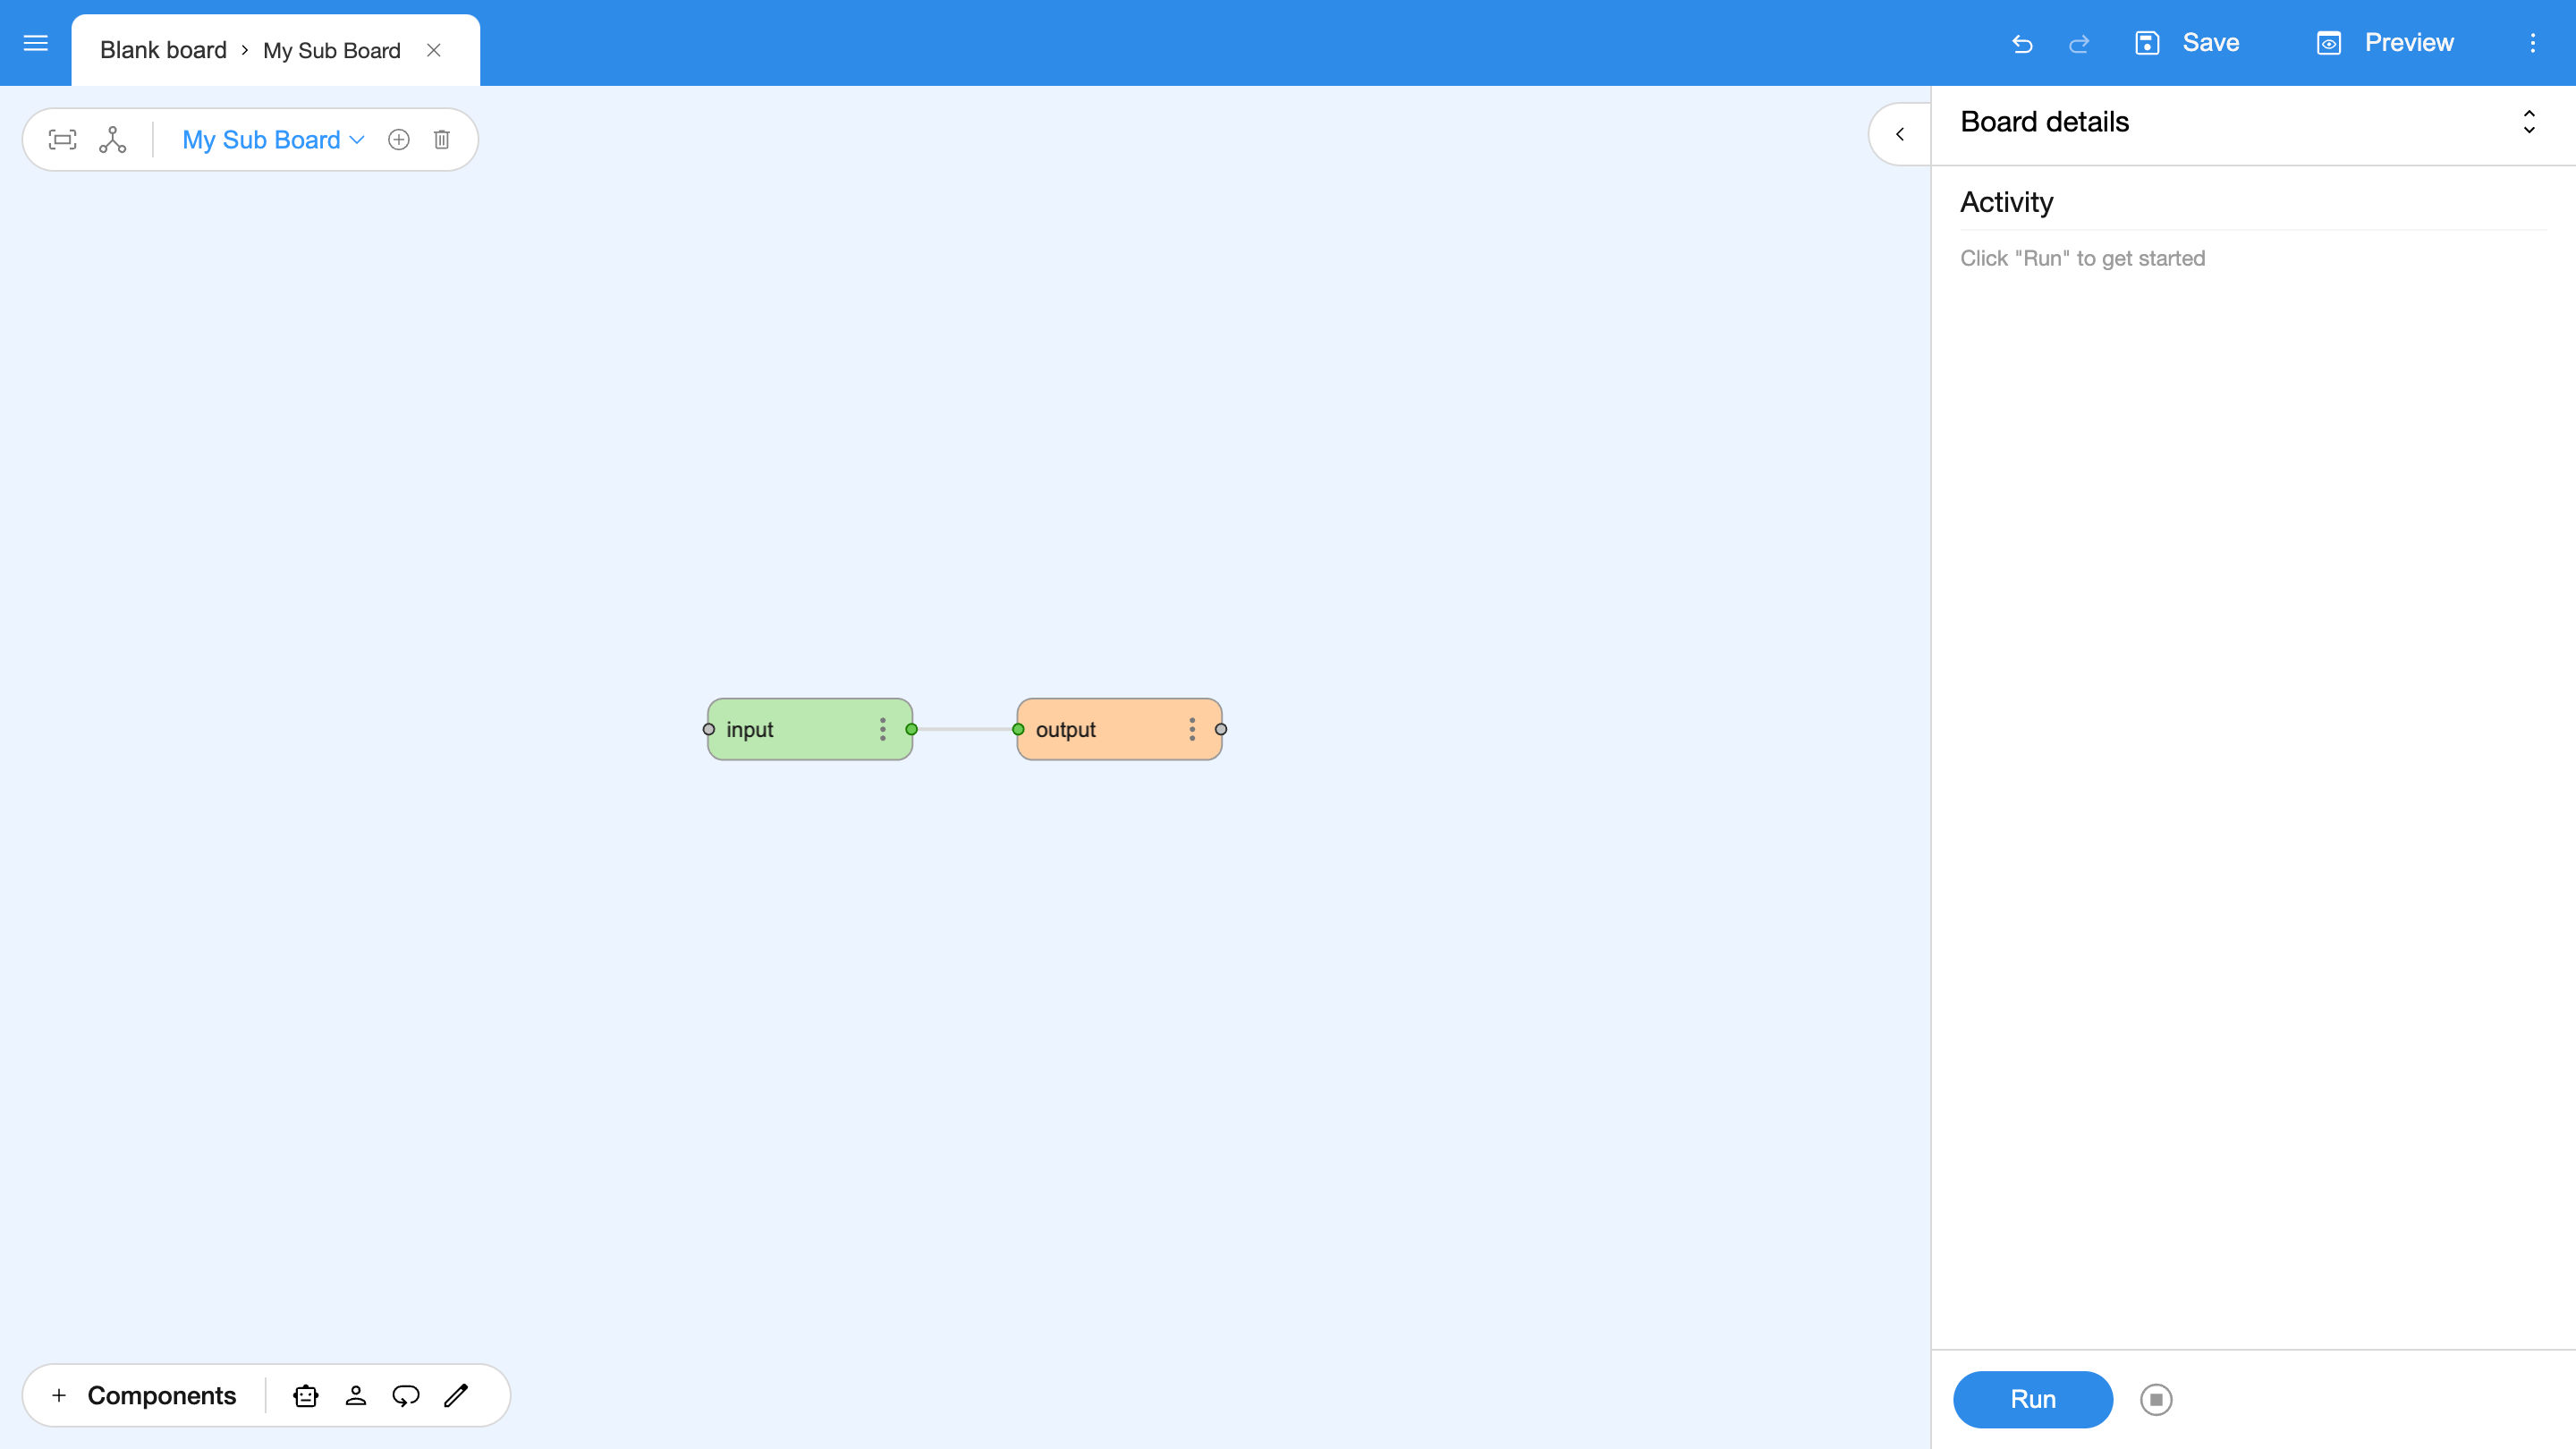
We can now use the selector in the top menu to swap between the main board and any embedded boards we've created.
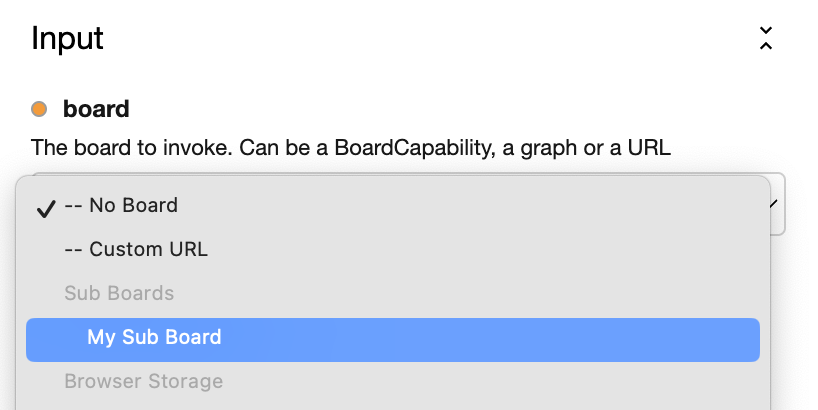
We can now use this board with – say – an invoke component by finding it in the board selector.
If we want to delete the embedded board we can click on the trash can icon in the top left menu.
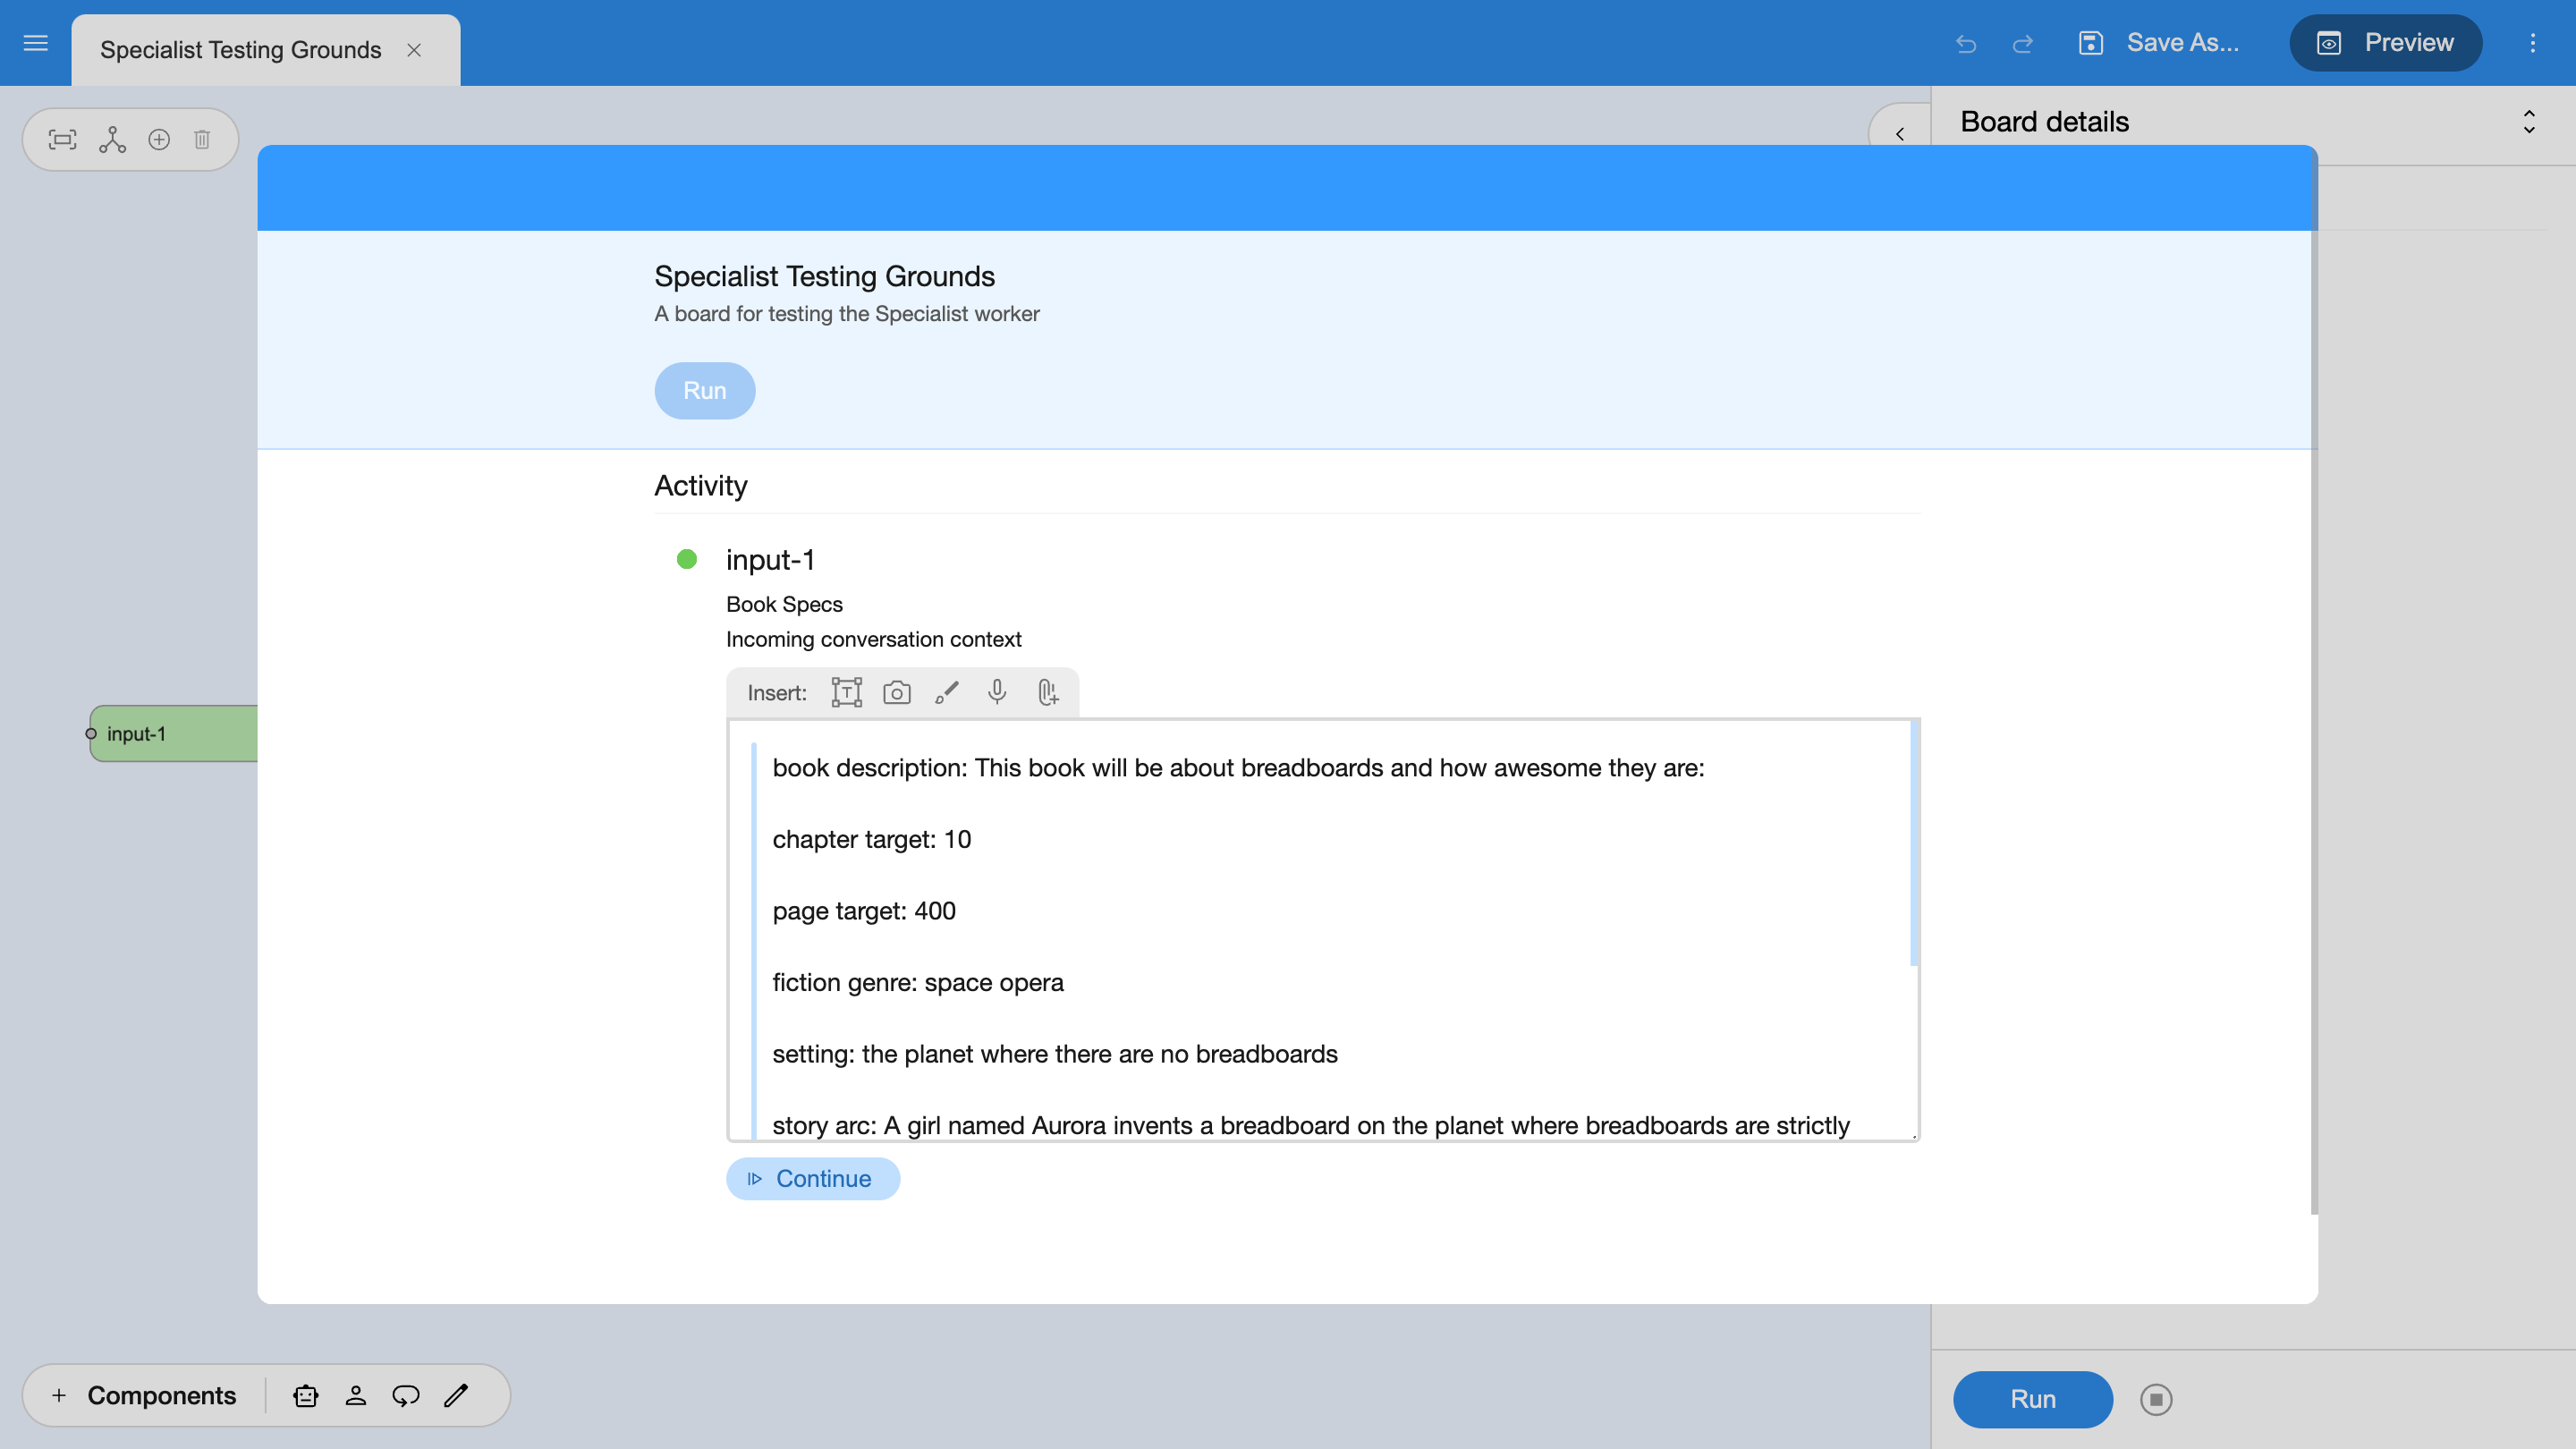
The Preview View
Sometimes we want to see how a board behaves in a context that more closely matches an end user's experience. In those cases the Visual Editor offers a different view that we can access via the Preview option in the top navigation area.

When we click on this button an overlay opens over the top of the editor, which shows the title and description of our board, a Run button, and an Activity Pane that only shows Information log level events.