Activity Pane
The Activity Pane is where we can see the details of the running board. It is where we request any inputs from the user (including things like API keys), and where we show the outputs from any components or boards.
Note
You might have a reasonable question: "Why does Breadboard ask me for an API key?" One of the key tenets of this project is to allow makers quickly connect to various interesting models and other APIs. To do that, Breadboard has a pretty robust system for managing secrets: valuable pieces of data help you connect to them. To balance convenience with flexibility, Breadboard Visual Editor stores these keys in your local browser store.
Starting and Stopping a Board
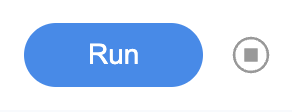
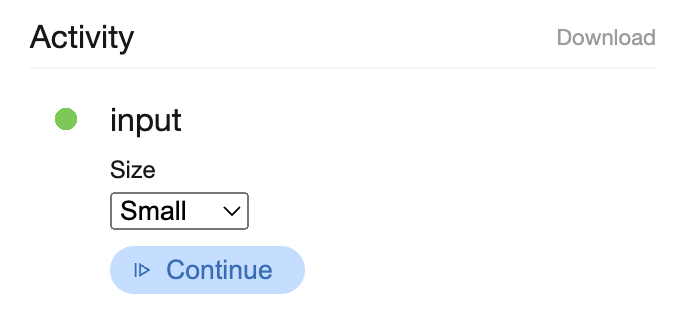
To start a board we can use the Run button at the bottom of the Activity Pane, and once a board is running, we can stop it with the Stop button just to the right of the Run button.
Inputs and Outputs
In the Components section we discussed setting the input and output schemas on a board. The types we choose there affect the inputs that are shown within the Activity Pane when a board is running.
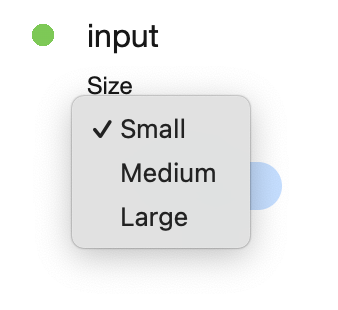
For example, suppose we say an input is a string and we have set a fixed set of options for the user.
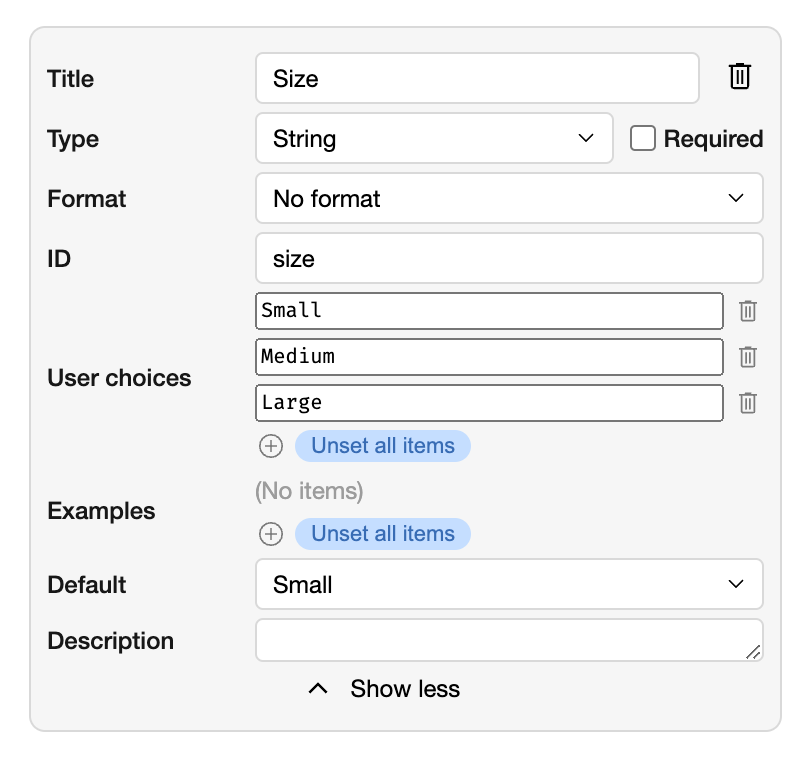
Now, when the Activity Pane shows the input it will be a dropdown box with the possible options in.
The LLM Content Input
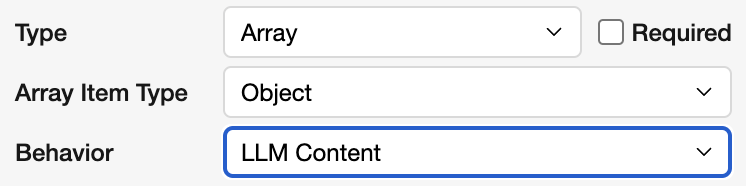
A very common input type is the LLM Content "behavior", which is a sub-type of the Object input type.
Note
A "Behavior" is primarily a hint to the Visual Editor about how a particular thing should be handled. The most commonly used behavior is LLM Content.
The LLM Content input type aligns with the Gemini API Content type. In the components like the Agent Kit's Specialist, its related type is often used: An array of LLM Content objects.
Note
Take care when dealing with a mixture of single LLM Content items, such as is found in the input component's default Context port, and the an array of LLM Content items as found in the Specialist's Context port. The two are closely related inasmuch both deal with LLM Contents, but the former is a single object, and the latter is an array of objects. We are currently working on limiting the ports that can be connected based on their types. Until that feature lands, however, it is important to check that ports are of a compatible type, no matter how closely related they may appear to be, as you may get unexpected errors.
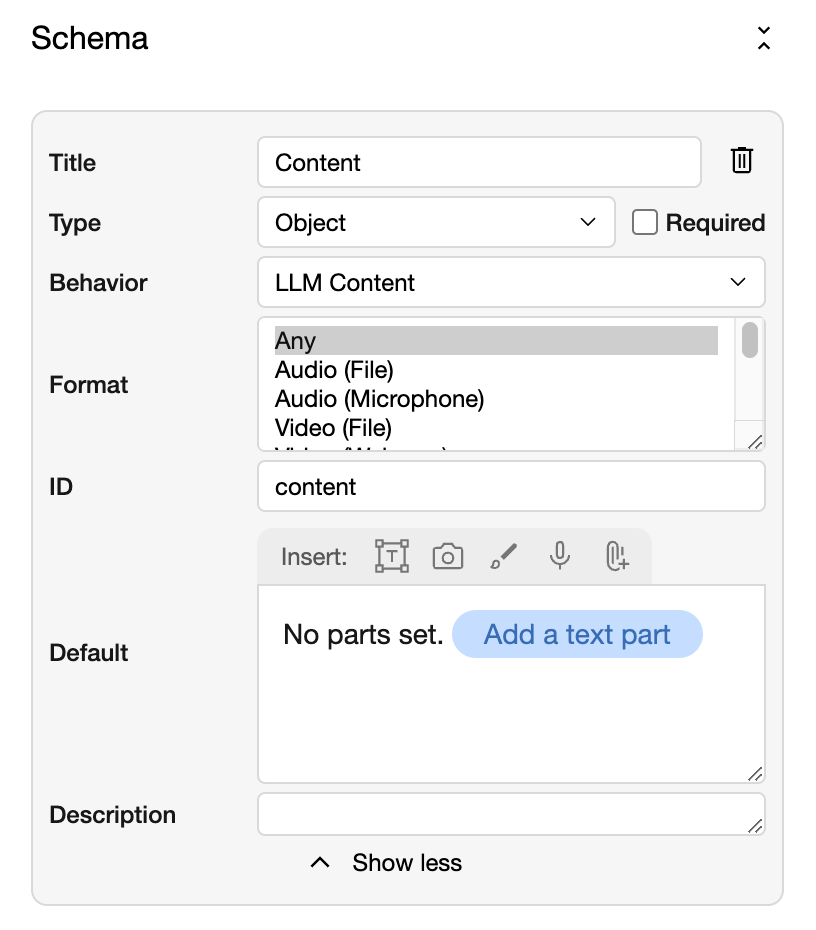
An LLM Content input is a particularly rich input, offering users the freedom to enter text, take pictures from their webcam, upload images from their device, record audio from their microphone, or even draw images directly onto a canvas.
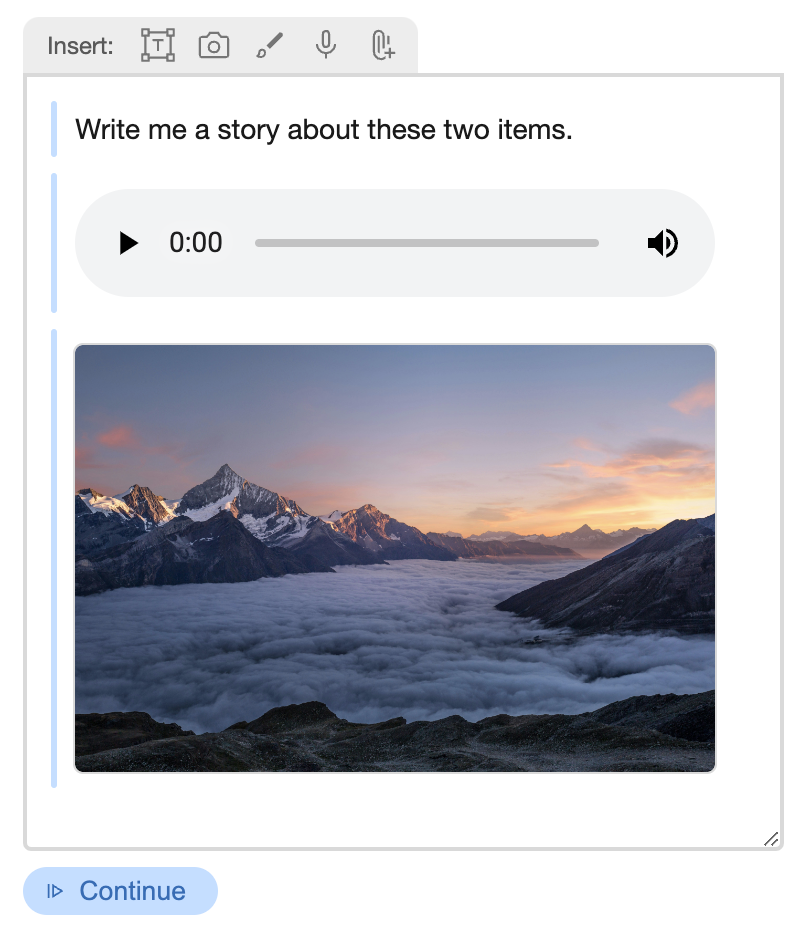
We can set the allowed types of input for the LLM Content in the schema editor's format area.
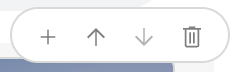
If we want to add a new part, move an existing part up or down, or if we want to delete a part, we can do so using the shortcuts in the input.
Asking the user for a secret
A secret, such as an API key, is different from a standard input. Its value is not shown by default, and the Visual Editor will attempt to store the secret in the browser's internal storage for future invocations.
Tip
You can see the secrets stored in the Visual Editor by going to the Secrets section of the Settings panel (which can be accessed in the top navigation overflow menu). In the Settings you can change whether or not the Visual Editor stores secrets when the user enters them.
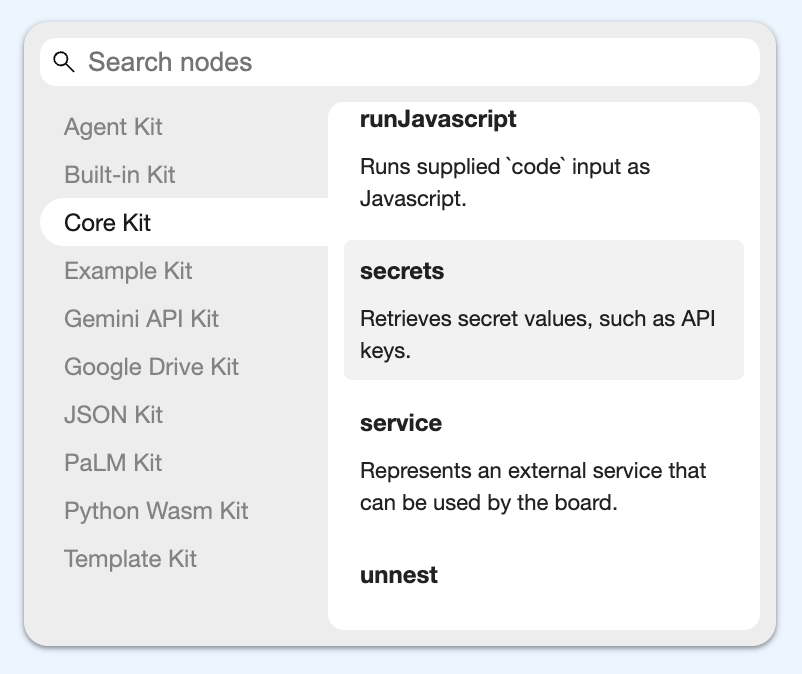
We can find the secrets component in the Core Kit.
Inspecting Activity
A common task within the Visual Editor is debugging a board run. To that end, the Visual Editor provides a few additional features to help us.
First, we will see that for complex nodes there is the option to expand its underlying workload and see what it was doing.
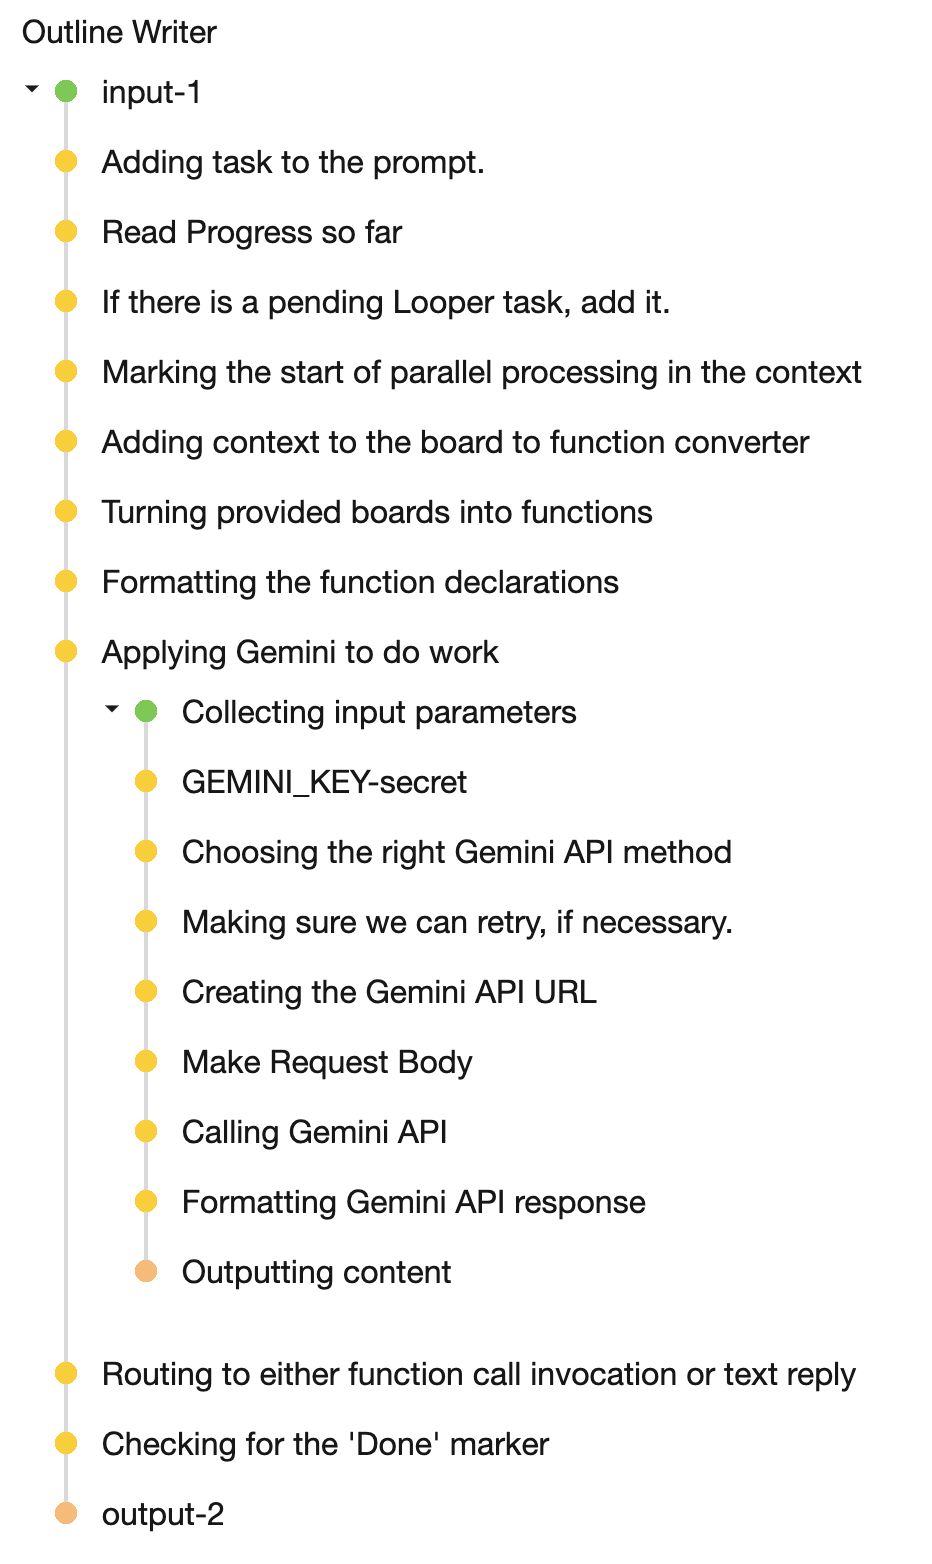
Note
In the main Visual Editor the Activity Pane will emit all of a component's data. In the Preview view, however, we can hide the component's output by setting its log level to Information.
Second, clicking on an item in the Activity Pane will bring up a details view that shows the raw data for that item of work.
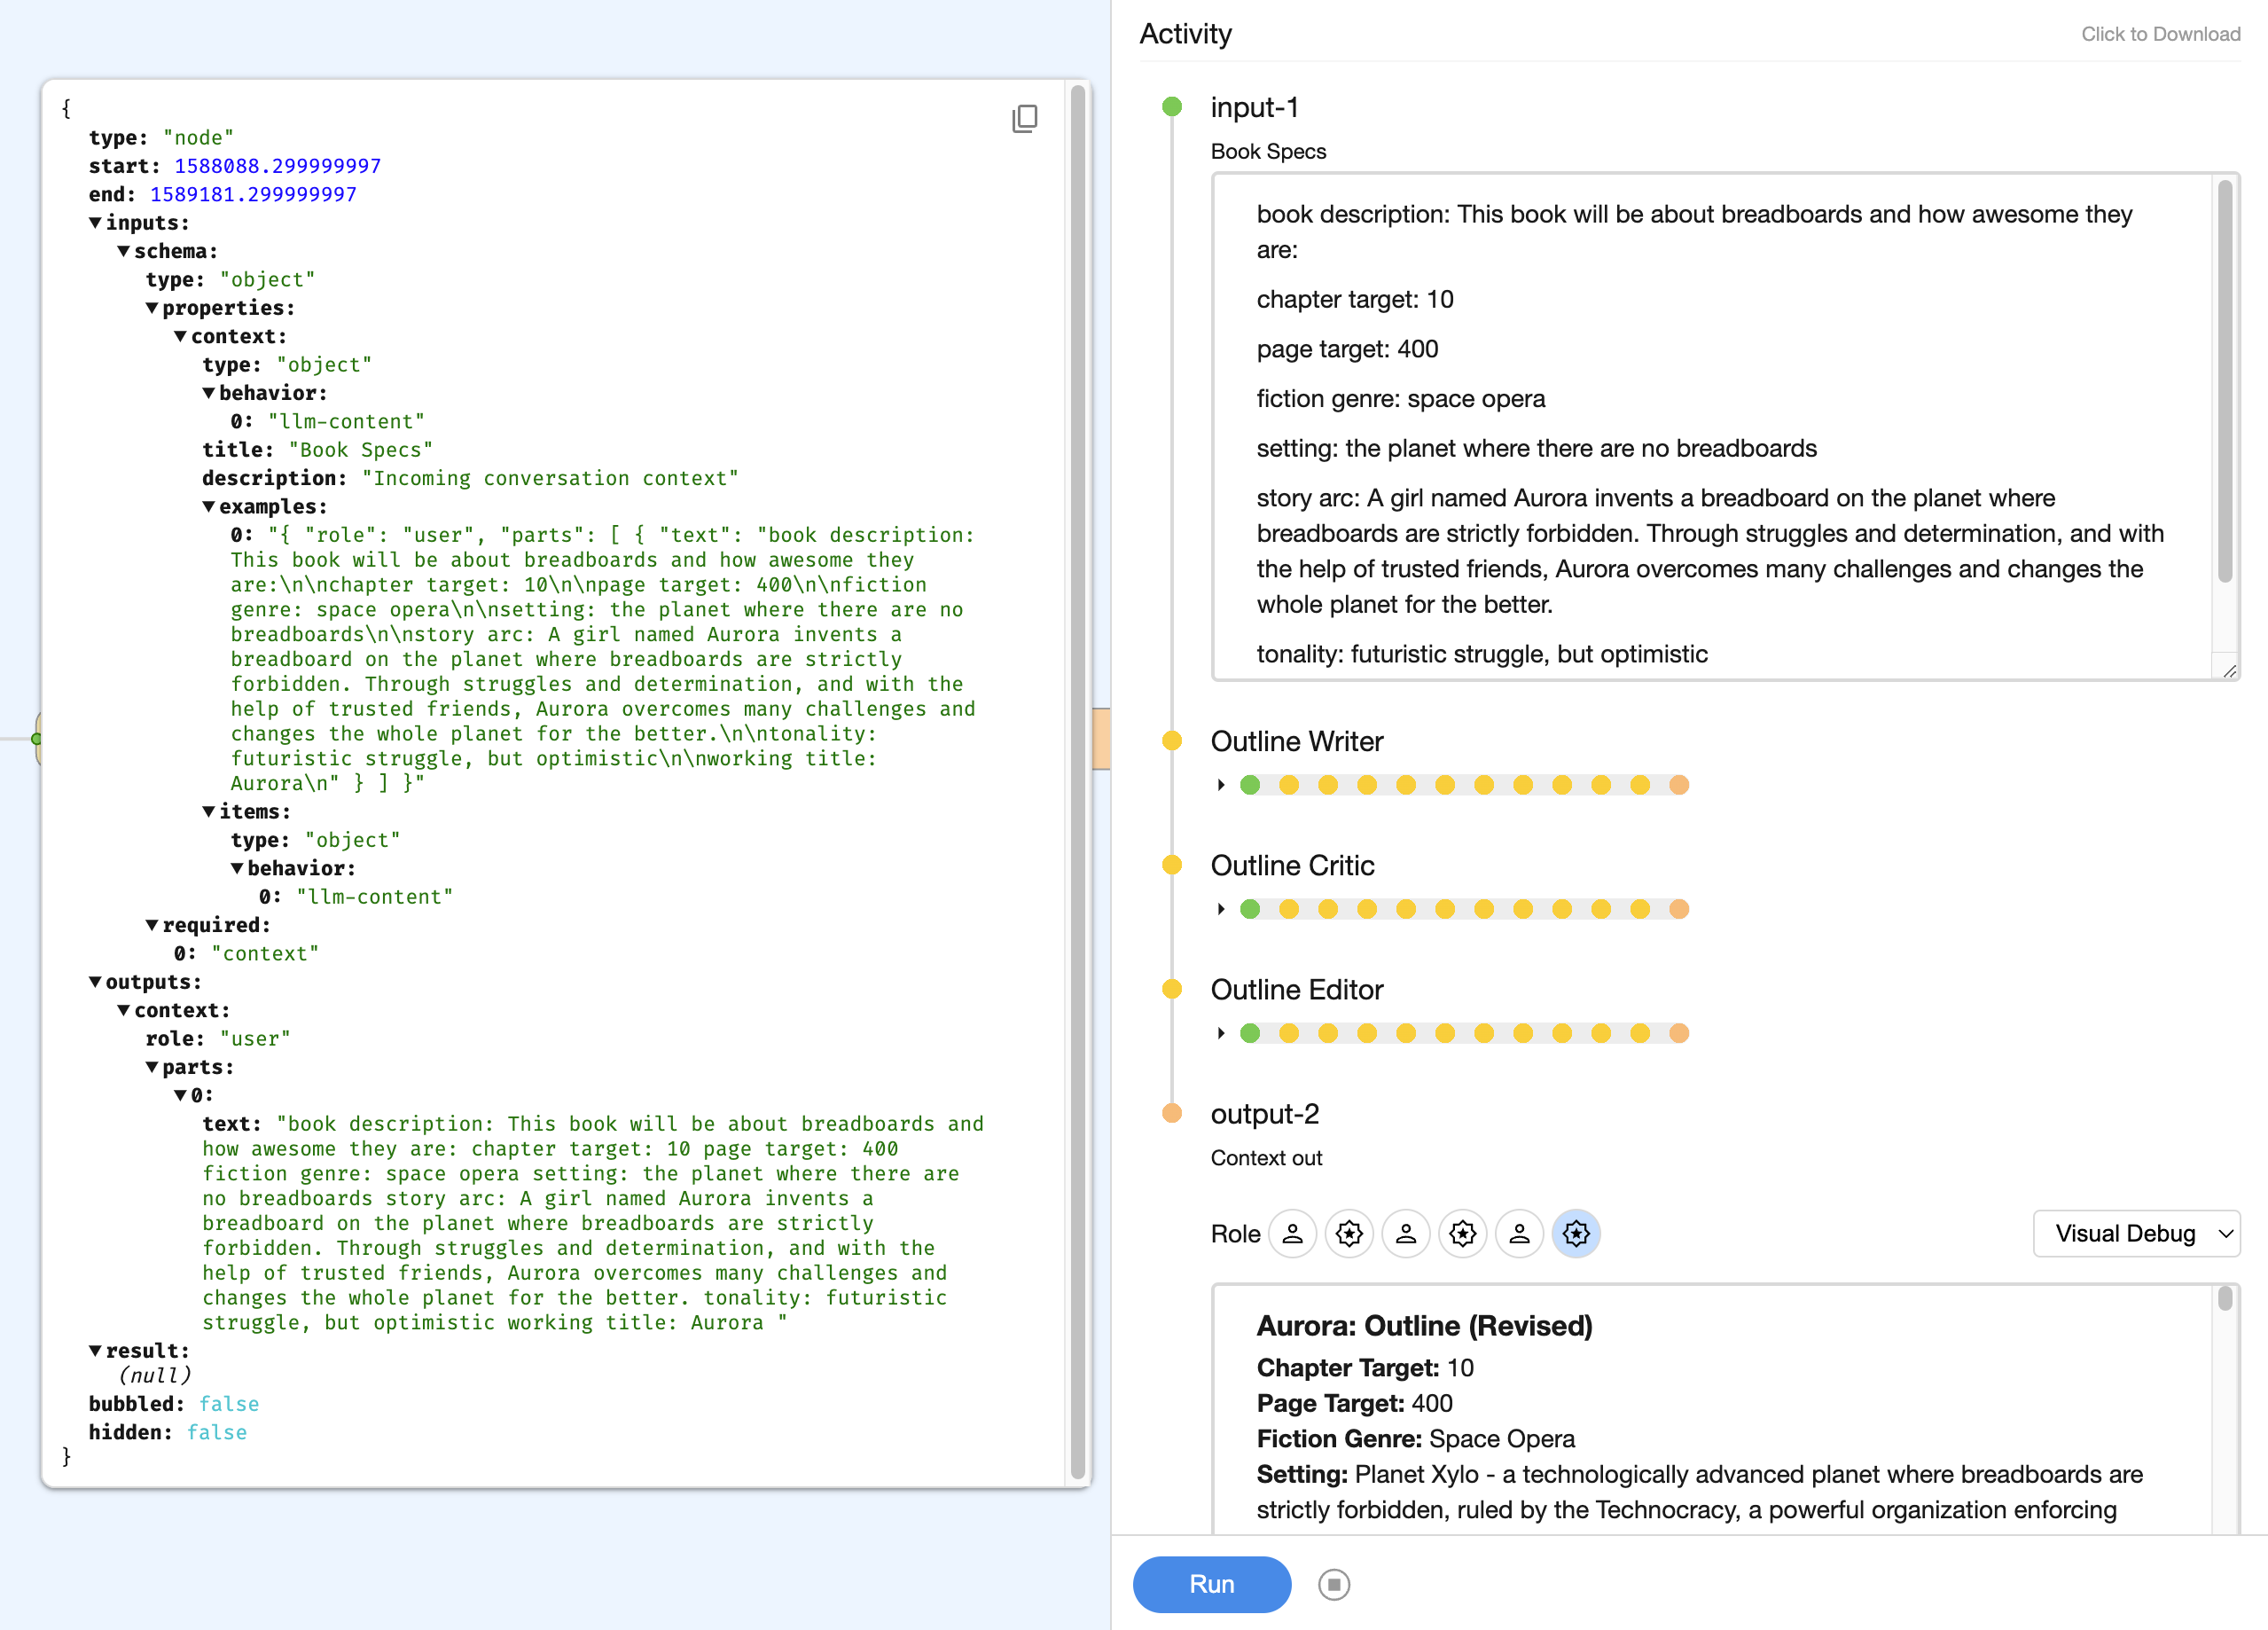
In the case of an LLM Content (or an array) the Visual Editor attempts to provide a slightly richer view of the output.
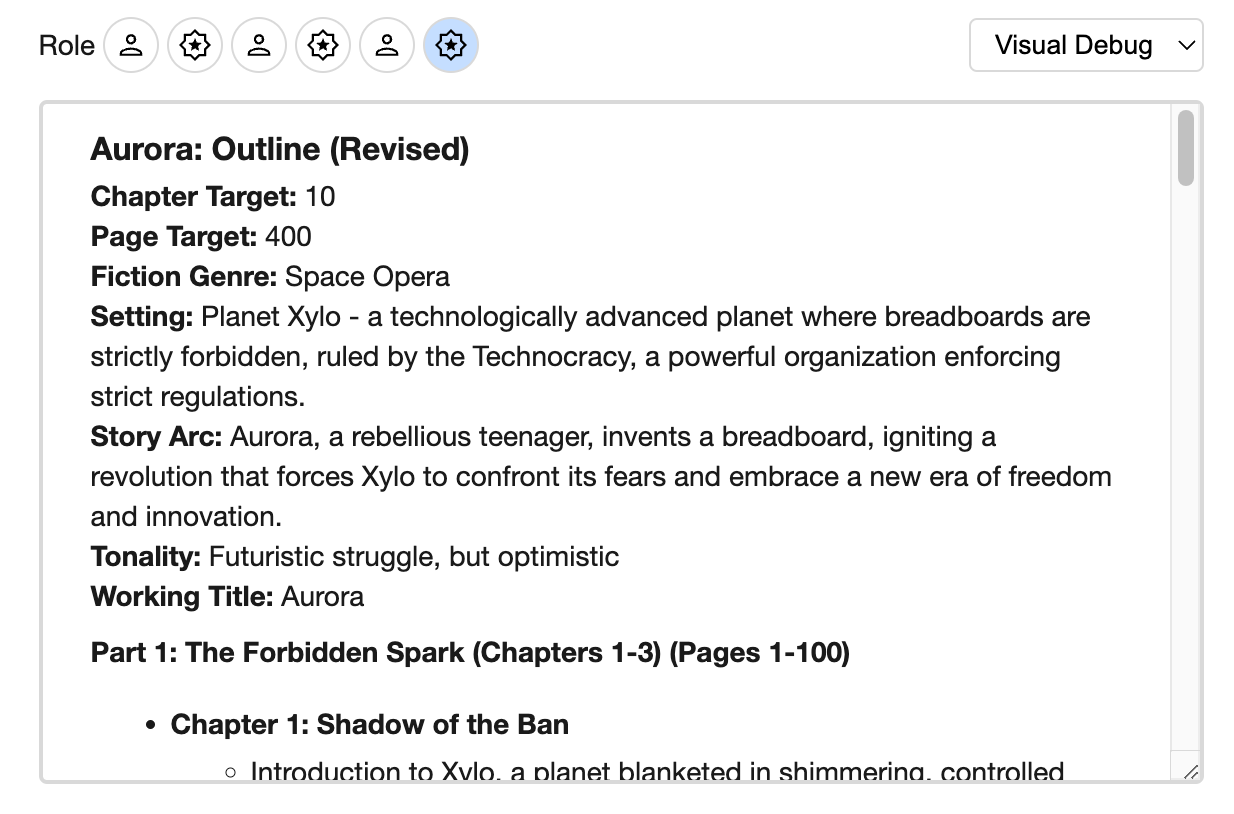
We can switch the output from this Visual Debug view to a Raw data view using the dropdown in the top right corner.
Tip
If you want to you can copy the data using the button found in the top right corner of every raw data view.
Loading and Saving Runs
Sometimes it's helpful to be able to persist and reload runs, either from our own boards or for debugging someone else's boards. To help with that the Visual Editor also supports saving and reloading board run data.
Saving a run
A run can be saved by clicking on the Download link in the top right corner of the Activity Pane.
This will trigger the creation of a run JSON file, which can then be downloaded.
Loading a run
A saved run can be loaded by dragging the JSON file onto the Activity Pane. When the run details have been loaded the Activity Pane will update with the run details.
Note
Loading large runs can take some time. Currently the Visual Editor gives no indication that it is processing a load, which is something we hope to fix in due course.