Getting Started
First of all, welcome to Breadboard!
Breadboard is a library for prototyping generative AI applications. This library was inspired by the hardware maker community and their boundless creativity. They make amazing things with off-the-shelf parts and a breadboard, just wiring things together and trying this and that until it works.
Breadboard is an attempt to bring the same spirit of creativity and simplicity to making generative AI applications.
This library's design emphasizes two key properties:
- Ease and flexibility of wiring. Make wiring prototypes easy and fun.
- Modularity and composability. Easily share, remix, reuse, and compose prototypes.
There are two main ways to use Breadboard: via its Visual Editor and with the TypeScript API (guide coming soon). Both are great ways to build boards, but if you are new and want to get going immediately then we recommend starting with the Visual Editor, which we will cover in this guide.
So, let's create our first board using the Breadboard Visual Editor.
Step 1. Creating our first board
Head over to https://breadboard-ai.web.app/ and you will see a Welcome Panel that looks like this:
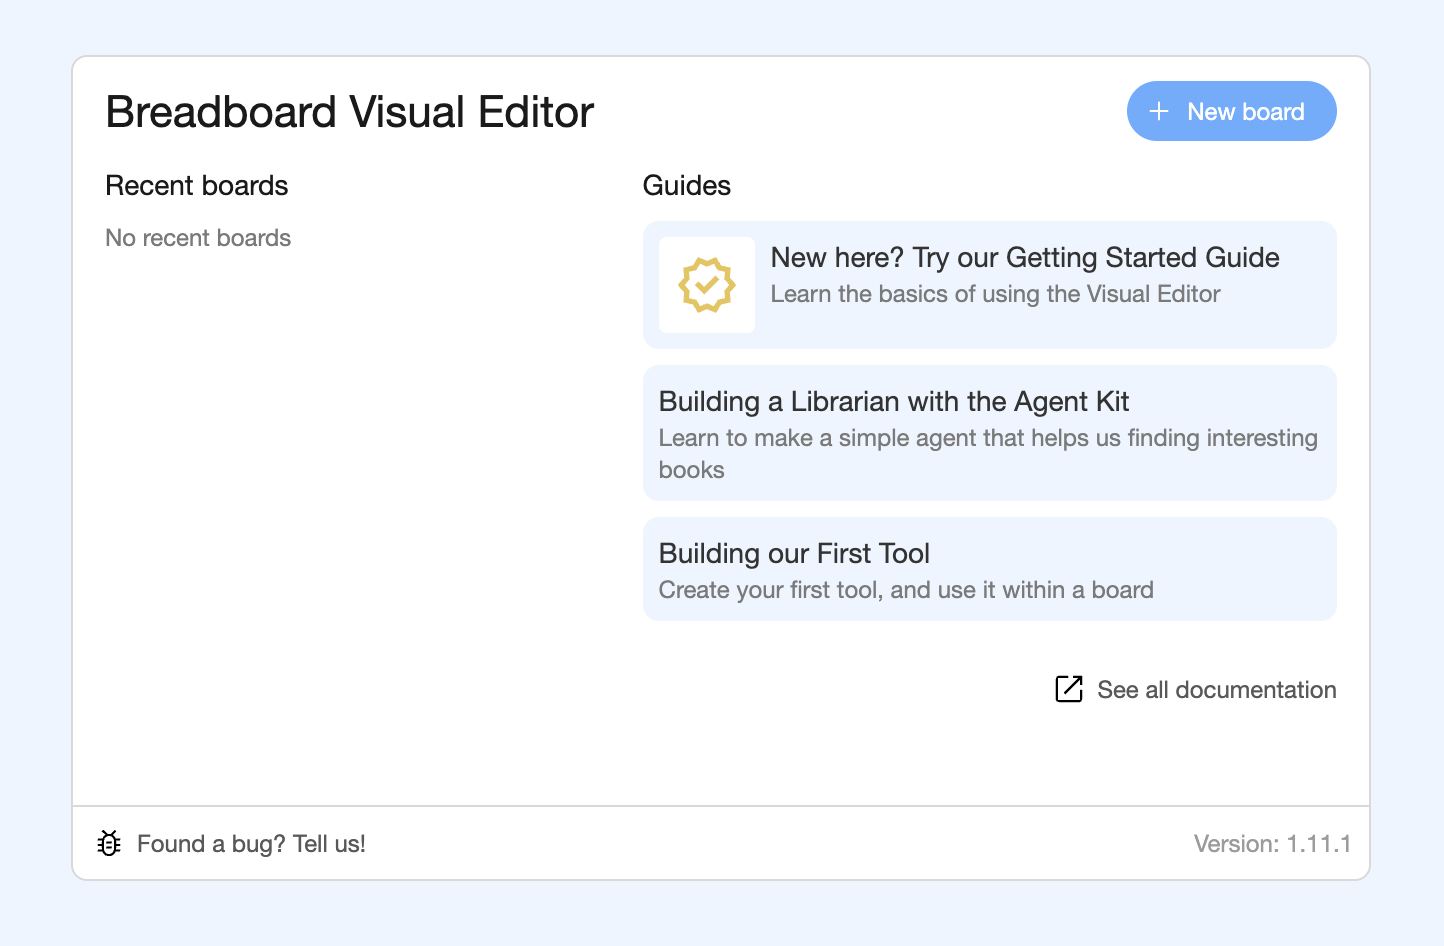
As we build out new boards the Recent Boards list will fill up. For now, though, it will be empty if this is the first time you've loaded the Visual Editor. In the top right corner of the Panel there's a button with a little ‘+' icon that says New board. Click on that and we will see a new view where we can enter details for our new board.
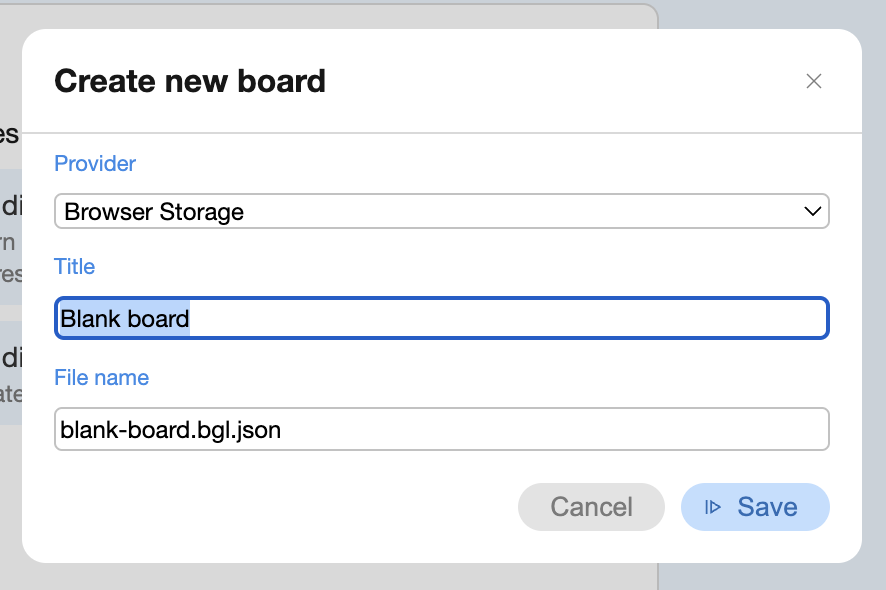
Let's change the title to something like "Hello, Specialist" (we'll see why in a moment!), and we will leave the generated board file name as-is.
At the top of the view there is a Provider dropdown, which tells us the storage location for our new board. The Browser Storage option is the default, so we can leave that as-is, too.
Note
By default all data in the Visual Editor is kept in your browser's storage. You can also store boards on Board Servers, which typically allows others to see (and reuse) your boards if you want, but this isn't the default.
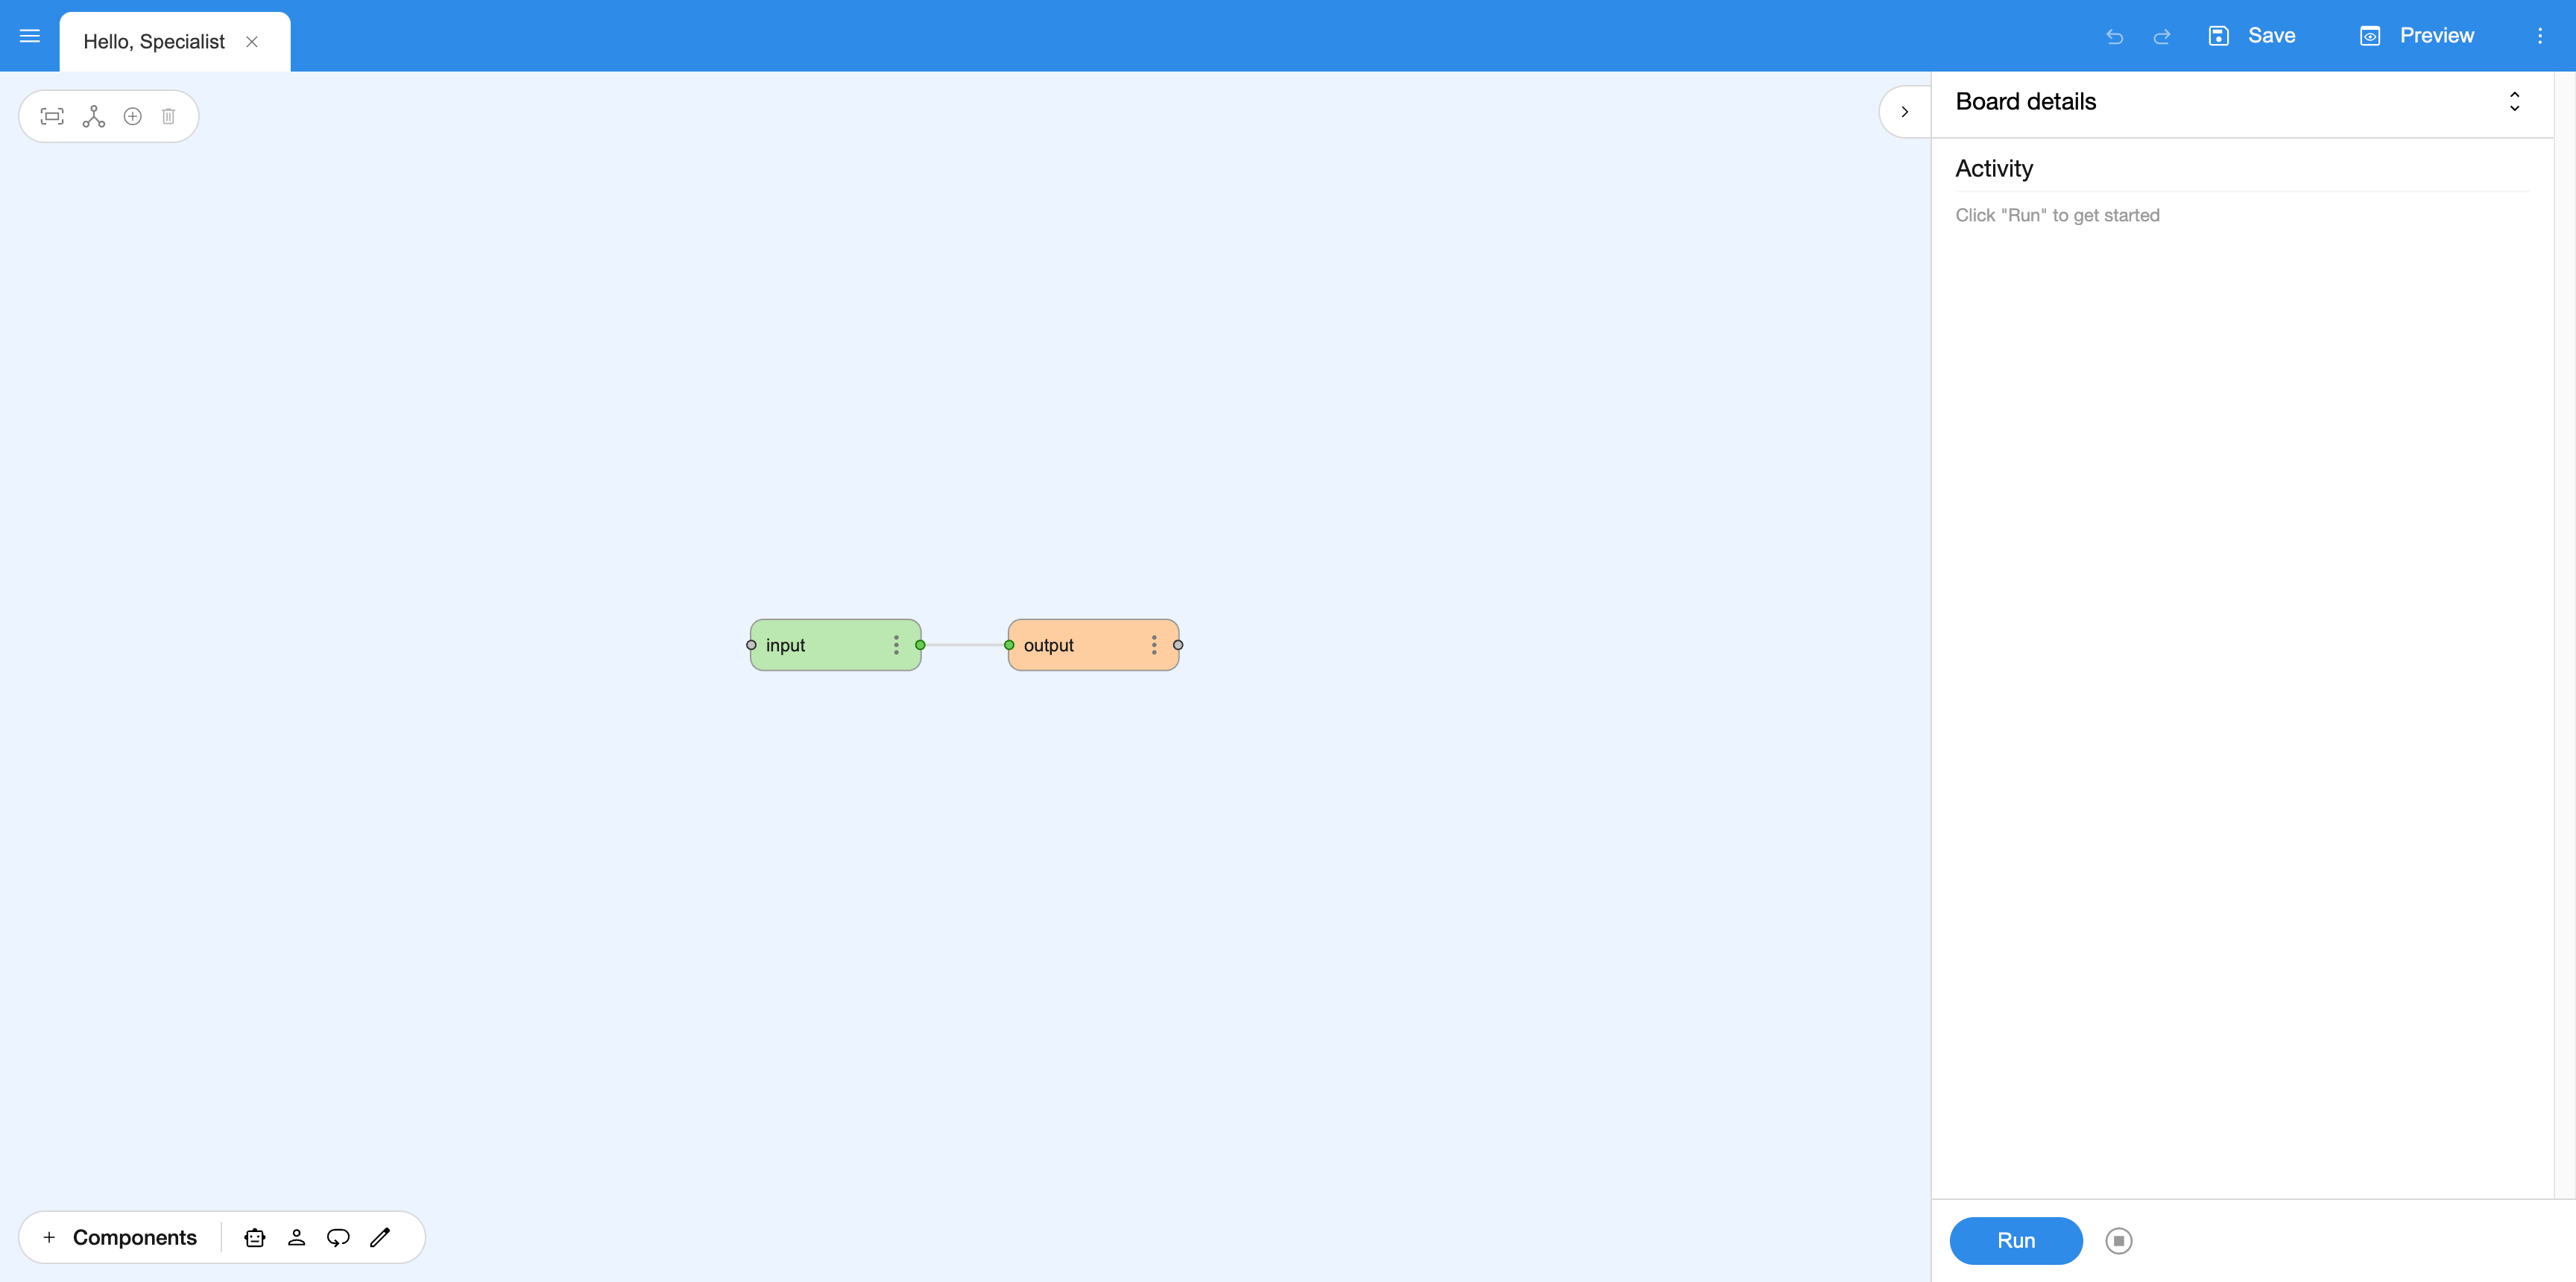
Click Save, and we should be greeted with a board view that has two nodes: an input and an output.
Note
If you're interested in inputs & outputs, you can read more about those in our Inputs and Outputs reference.
Step 2. Running a board
Let's click Run in the bottom right corner, which will start the board running. Immediately we will see that the input component is highlighted in the board view, and in the Activity Log on the right an input area will appear. Let's put the following into the box:
Hello, Specialist!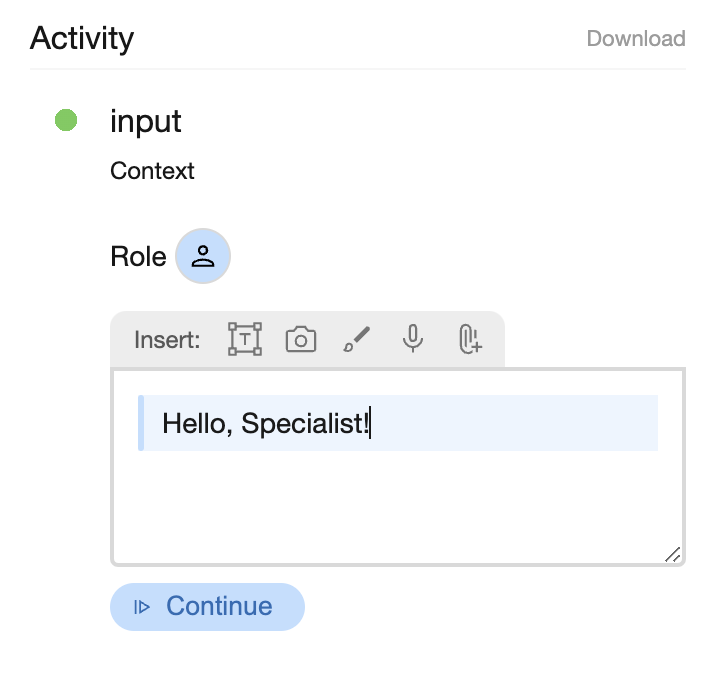
And now click Continue. We should see that the board finishes and the output we get matches our input. That's because right now we take the input and we pipe it straight through to the output.
Step 3. Adding a Specialist
Let's do something a little more fun. Let's add in a Specialist component.
Tip
The Specialist comes from our Agent Kit, which is a collection of components that are useful when working with LLMs. You can read more about the Specialist, and the other components in the kit, in our Agent Kit reference.
To get a Specialist, go to the selector in the bottom left corner and drag the component that has a little robot icon 🤖 onto the board view:

When we do this a new component will appear. It will be called something like specialist-1234abcd.
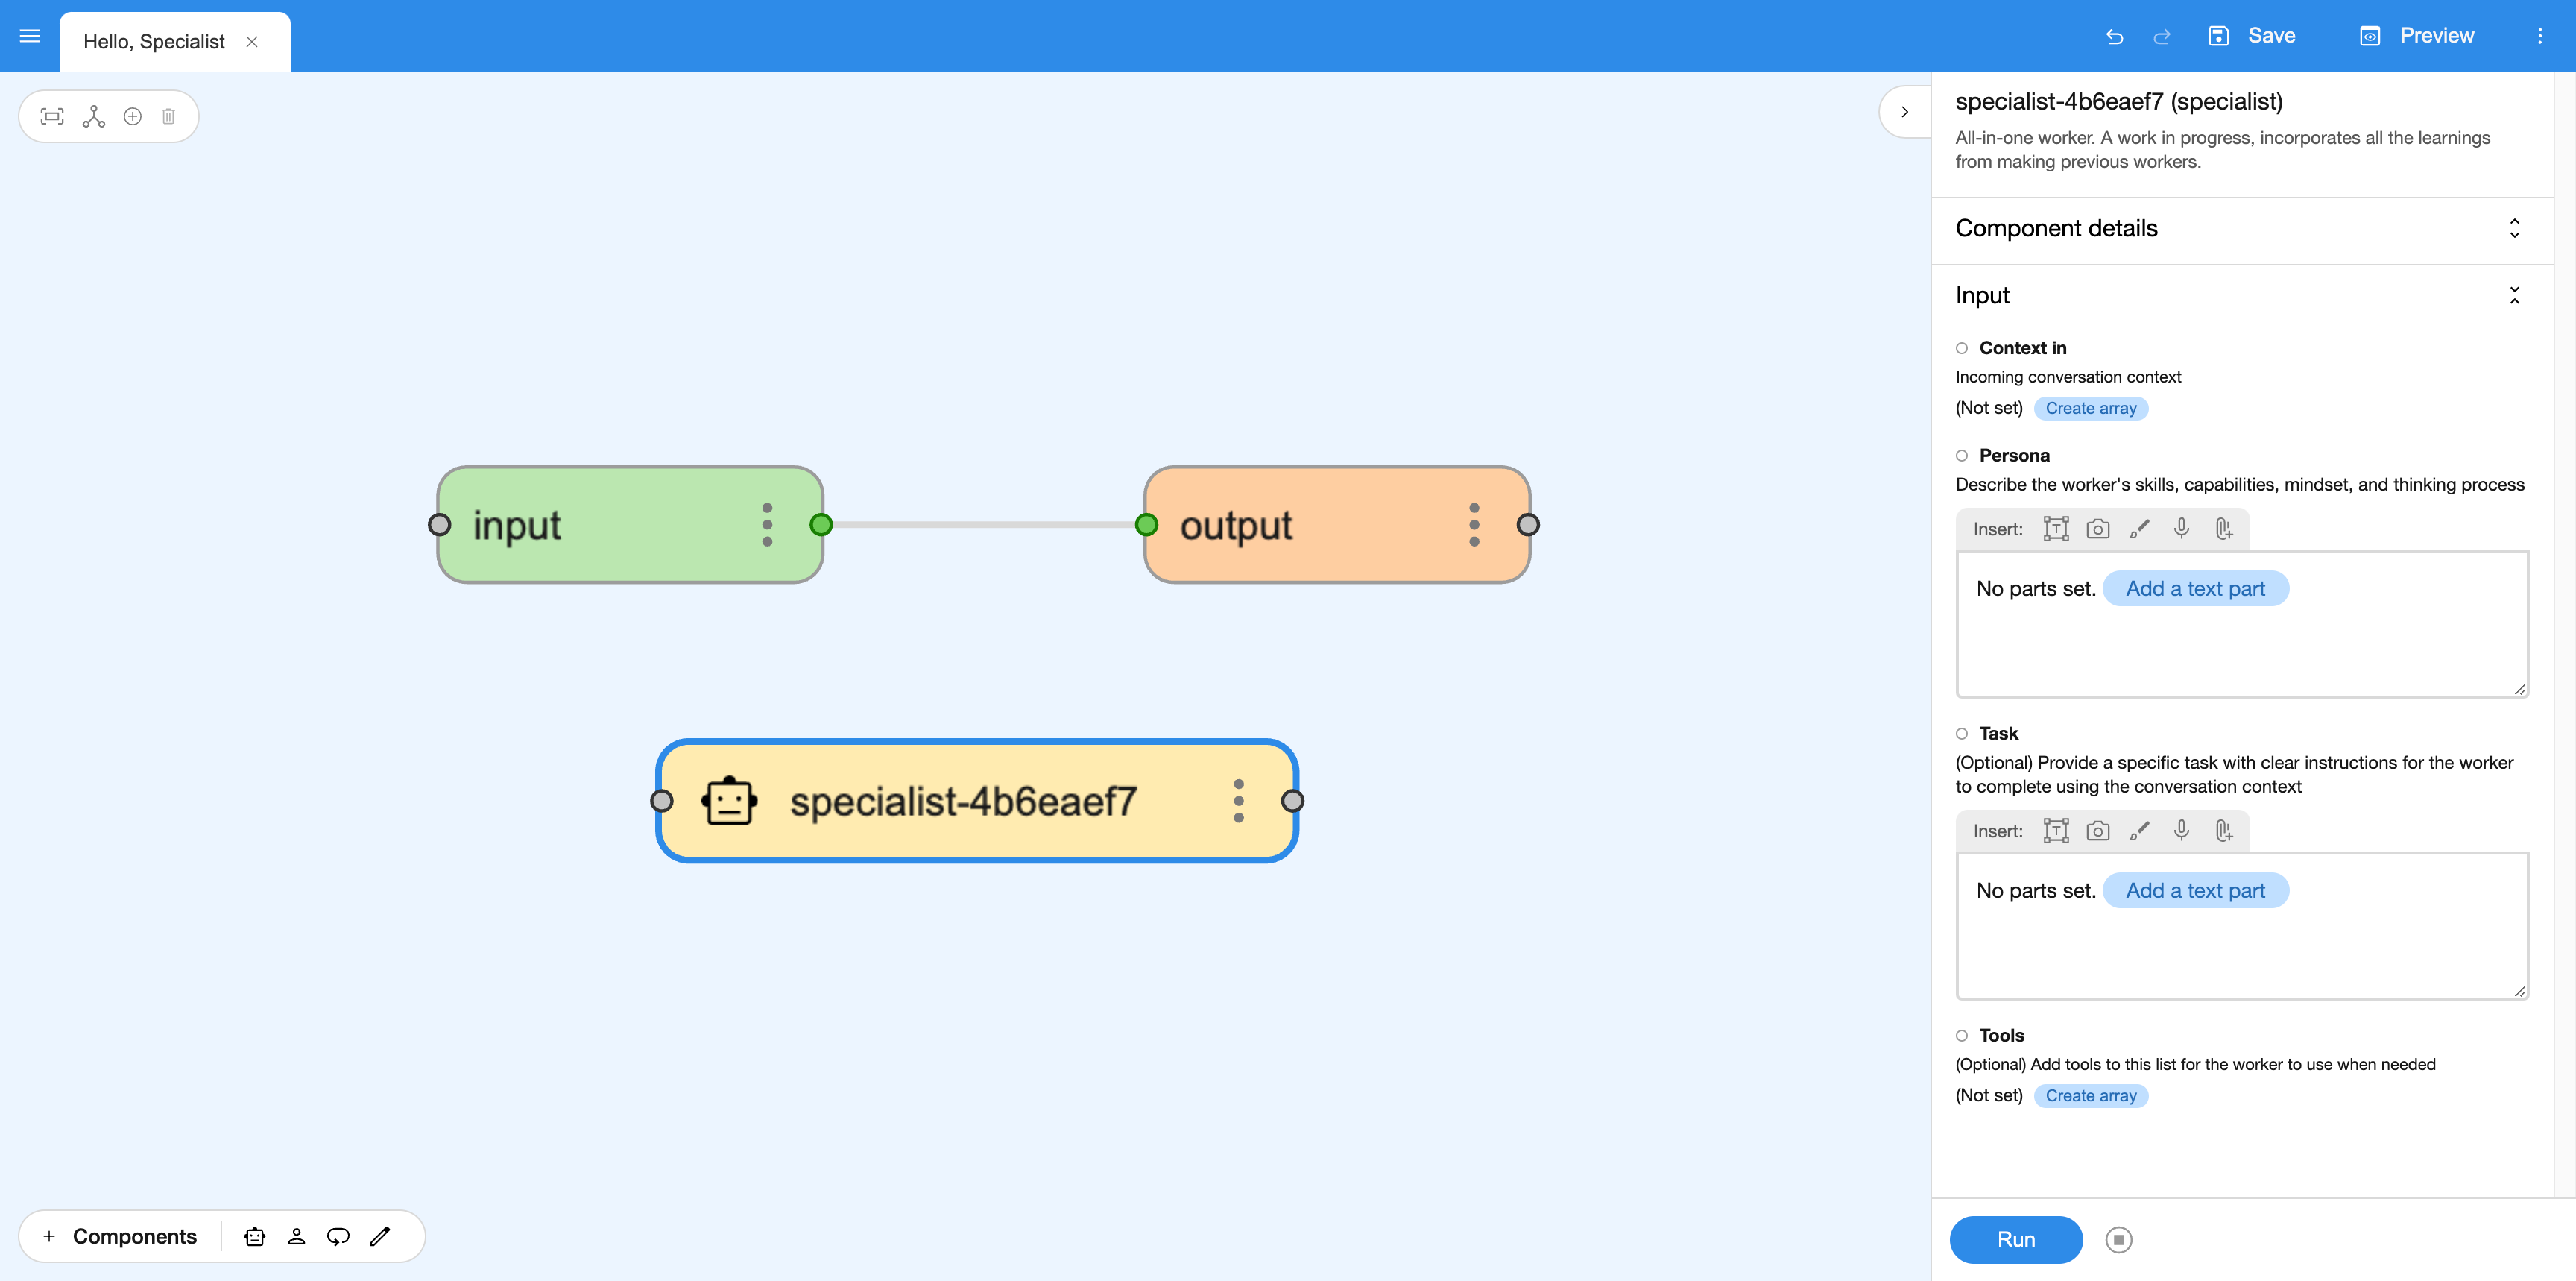
With the Specialist selected we should see some more information on the right hand side of the UI. Let's expand the Component details pane and enter a name for it - Greeter - and let's give it a Persona by adding a text part and entering the following:
You are a cheery greeter who always responds with a fun fact.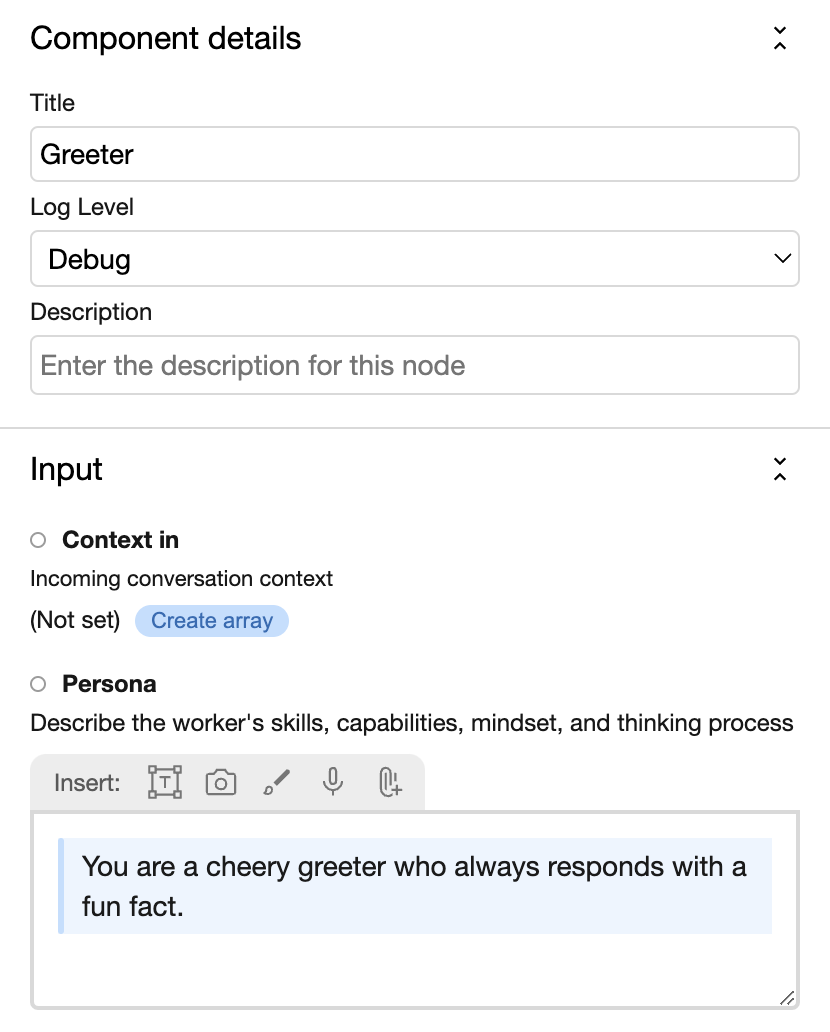
Now we have our Specialist, we need to wire it in to the input and output.
Click on the wire connecting the input to the output and hit the delete key (or Backspace) on the keyboard. This will delete the existing wire. Now drag a new wire from the input to the Greeter, and then one from the Greeter to the output.
That's everything we need to do!
The finished board is just below and you're welcome to play with it first. When you run it for the first time, it will ask you for the Gemini API Key. If you don't have one yet, you can get a key at https://aistudio.google.com/app/apikey.
Note
You might have a reasonable question: "Why does Breadboard ask me for an API key?" One of the key tenets of this project is to allow makers quickly connect to various interesting models and other APIs. To do that, Breadboard has a pretty robust system for managing secrets: valuable pieces of data help you connect to them. To balance convenience with flexibility, Breadboard Visual Editor stores these keys in your local browser store.
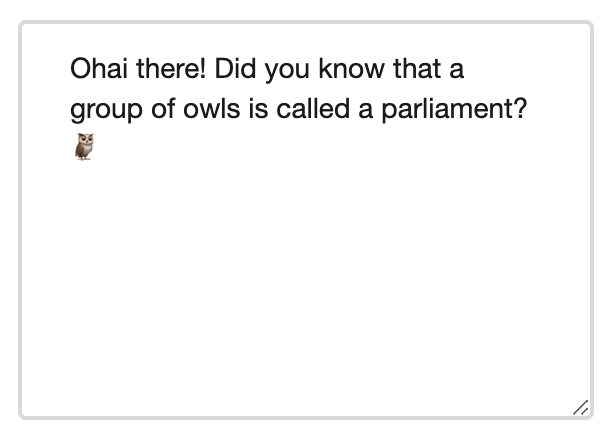
Enter a nice greeting in the box and hit Continue. Your Specialist should respond with a greeting and a fun fact!
Congratulations! We just made our first board with the Visual Editor!
What's next? Have you ever wanted to create your own Virtual Librarian that can help you pick your next book? If so, then let us show you how to make one!